I get asked often about what gear I bring along on our trips so I thought I’d create this camera gear guide for beginners. To start… It’s not about the camera you have or the lenses you buy.
It’s all about the subject your shooting, knowing how to use the camera properly…. and lighting!

As a designer/art director and photographer over the last 14+ years, I’ve learned a ton about this creative industry. I’ve been lucky enough to work alongside some amazing portrait, wedding, and landscape photographers and truly the best advice I can give is practice! It does get easier – I started with an old Nikon D90 and upgraded cameras a couple of times before getting my current camera setup.
Cameras & Lenses
Sony A7RIII Camera Body
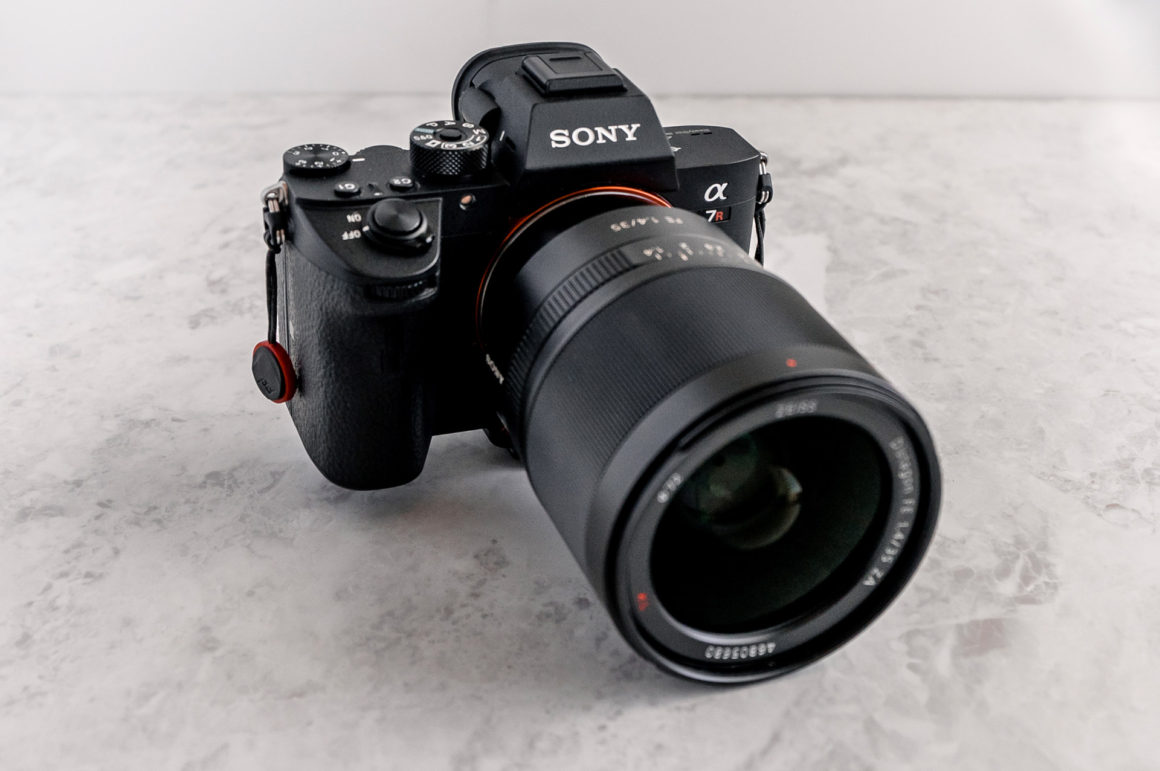
The newest addition to my camera bag is my Sony A7riii camera body(ad). Because I use my camera in my professional career to support my design work, this was the way to go when I upgraded from my Sony A7ii. With 42.4 megapixels and full-frame, it’s capable of taking large high-quality photos. Keep in mind, that this added MP size does add some time to your workflow in the editing phase. It’s also not cheap at $2,700 for the body only.
Sony 35MM 1.4 Prime Lens
My go-to lens lately has been my Sony 35mm 1.4 lens(ad). The depth of field is stunning at 1.4 and I use this lens primarily for portraits, family photos, and close-ups. The photo at the bottom of this post was taken with my setup above. Also, not a cheap piece of glass at about $1,600.
Sony A7RII Camera Body
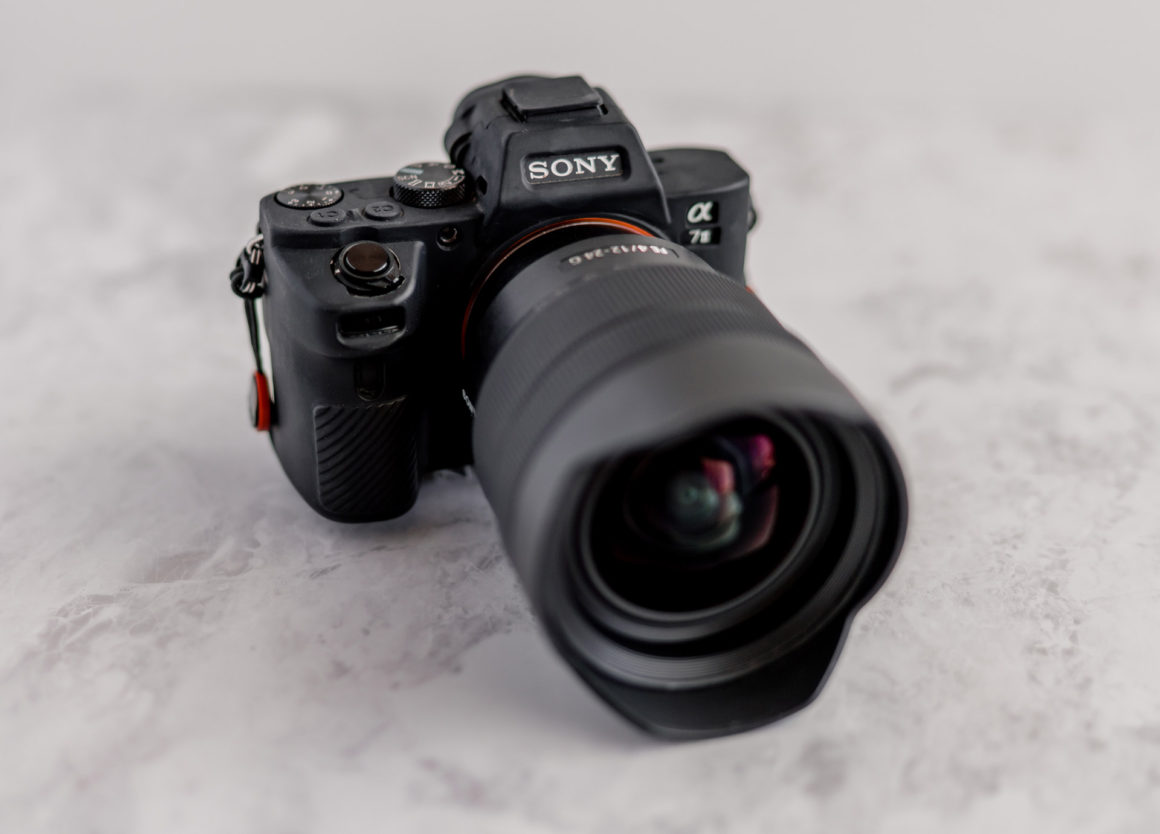
Before upgrading to my Sony A7riii camera I was using my Sony A7ii(ad) shown above. The A7ii has fewer megapixels at 24.3 but it is still a full-frame camera. I continue to still use this camera as my second shooter and have always loved its quality. This camera does use smaller batteries and I did notice it does die a lot fast than the new A7Riii. It’s a cheaper alternative for beginners to the mirrorless world at around $898.00 for the body only. Note: As shown here, my camera also has this protective silicone camera case(ad) on it.
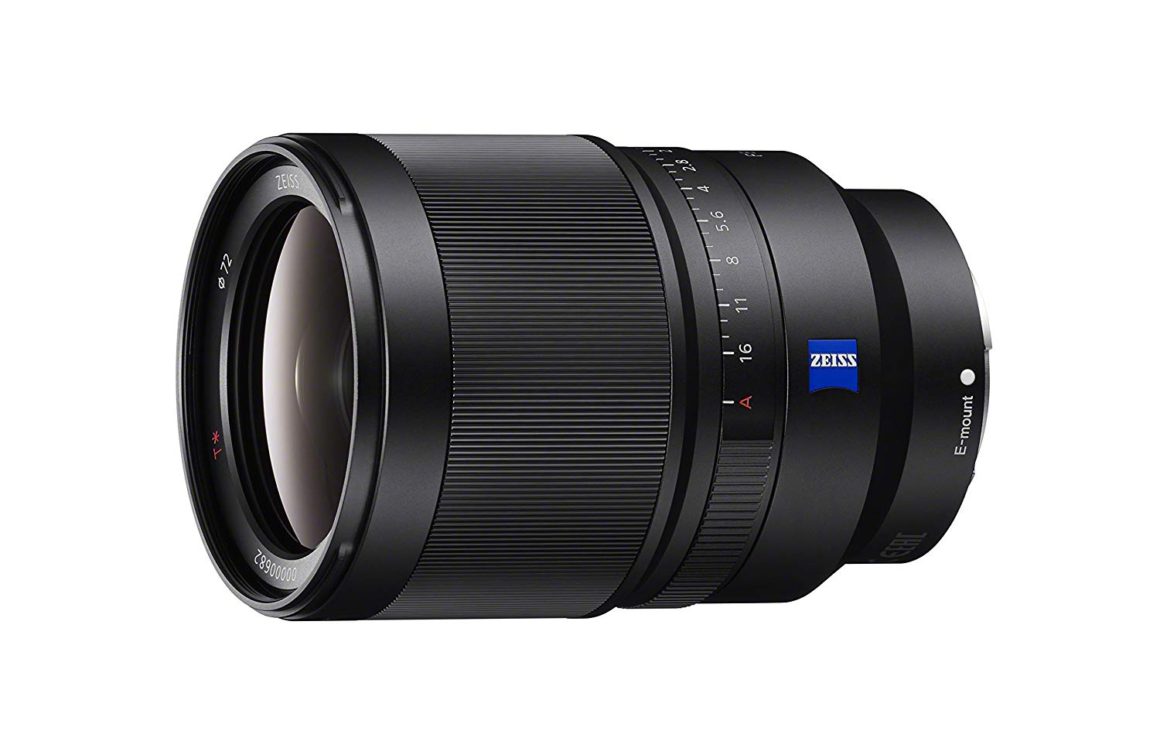
Sony 12-24MM F4 G Wide-Angle Zoom Lens
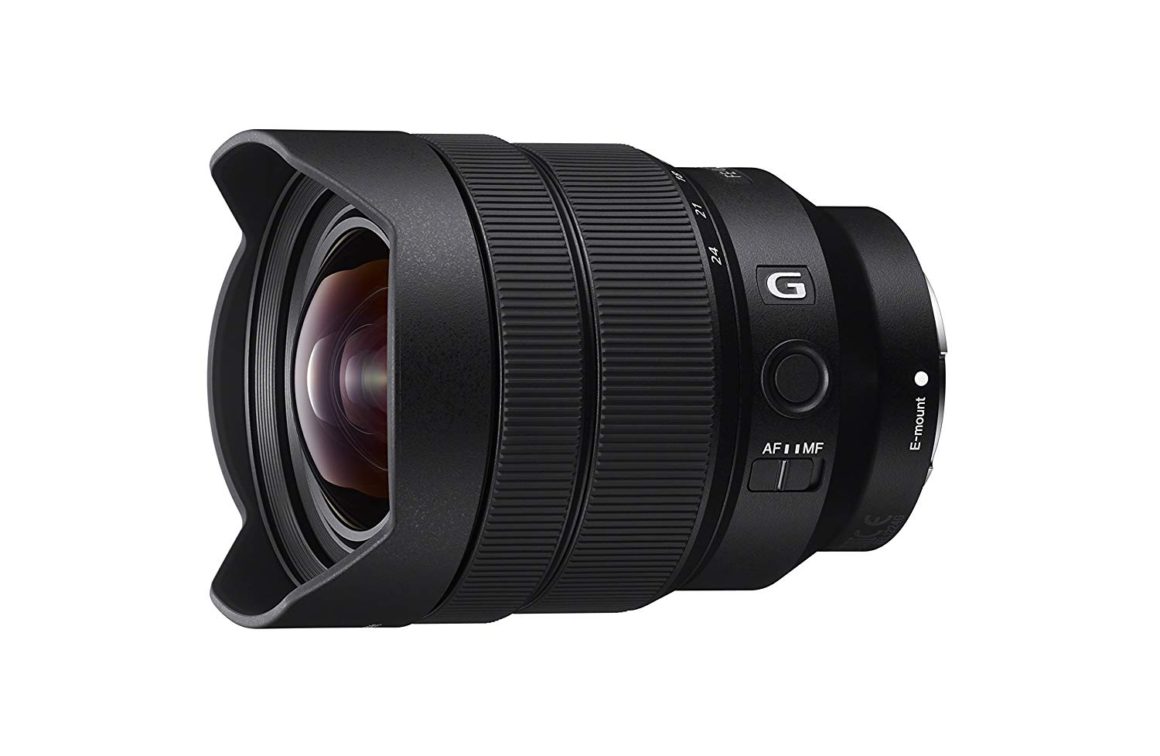
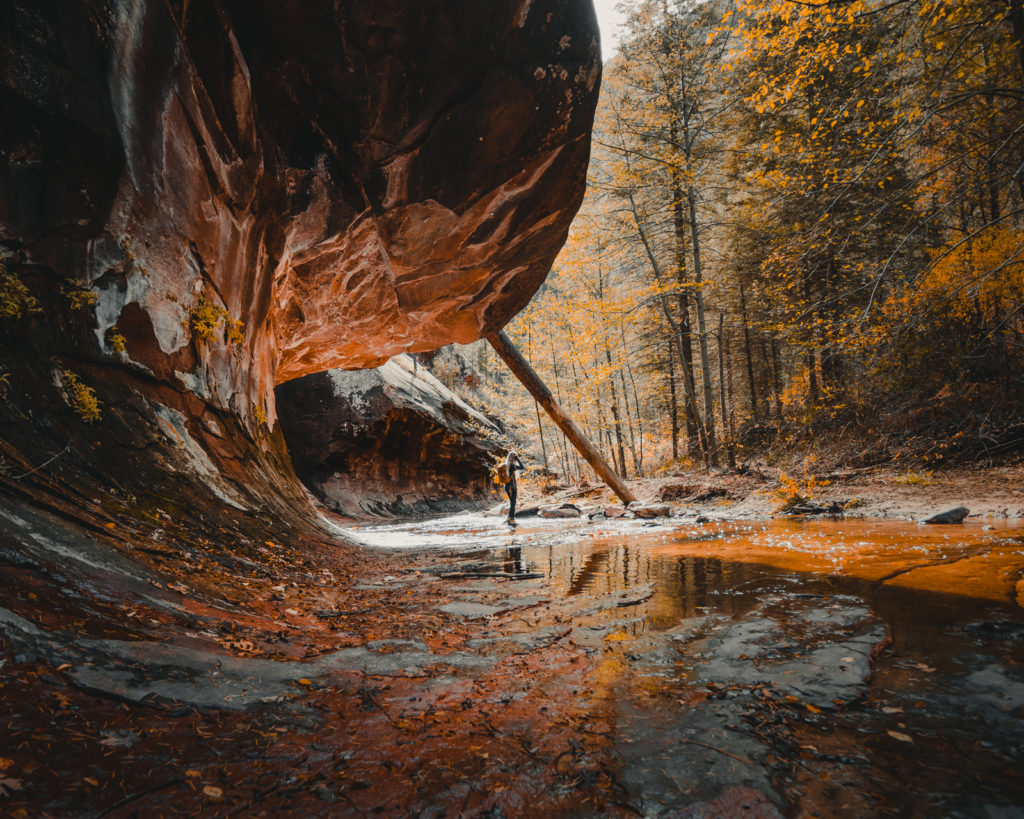
My second favorite lens has to be my Sony 12-24mm F4 G Wide-angle Zoom Lens(ad). The range of this lens is unreal. I use this lens primarily for landscape photography and interior shot because of its ability to capture ultra-wide shots with ease. Again, not a cheap piece of glass at about $1,600. This shot was taken at West Fork Trail here.
Sony 28-70MM F3.5-5.6 Lens
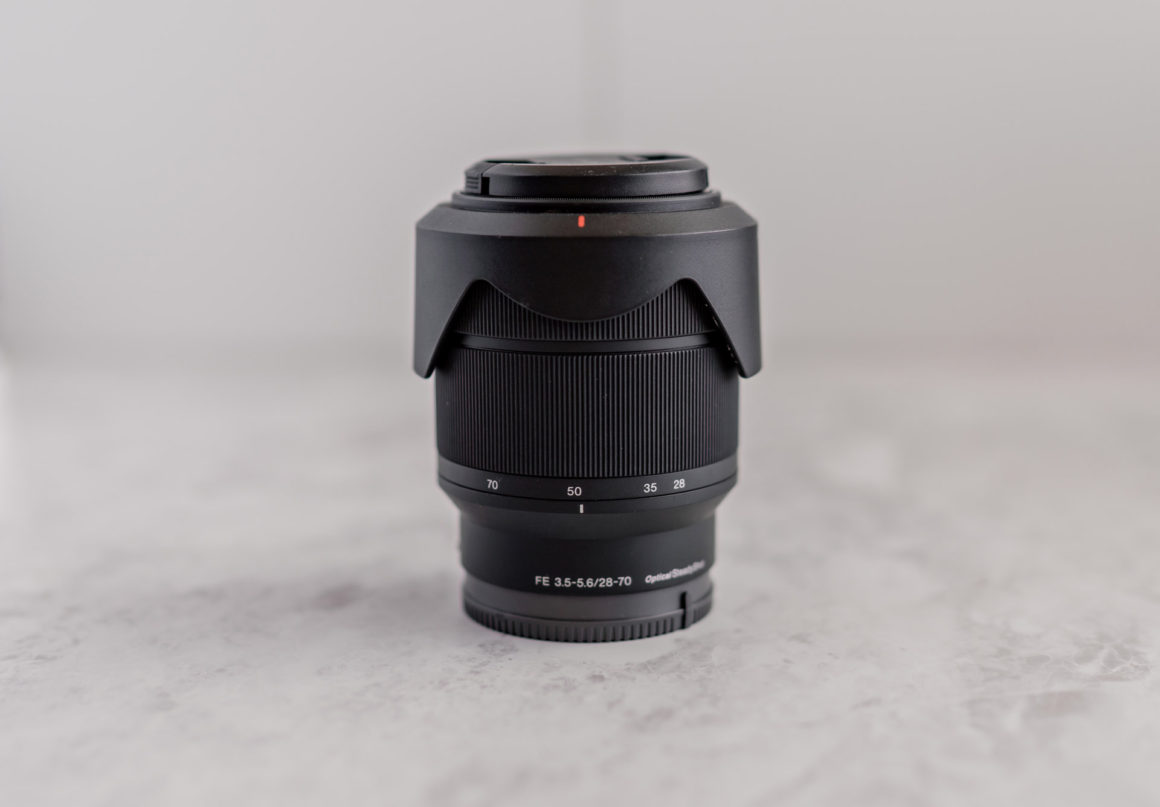
Last, but not least, is my Sony 28-70mm F3.5-5.6 lens(ad). Although I rarely take this one out of my camera bag, it’s still a good zoom lens and a major bonus is how light it is. You’ll still get very crisp photos from it. At close to $400, it won’t break the bank and typically comes as the kits lens if you buy the Sony A7ii camera body & lens combo(ad).
Camera Accessories
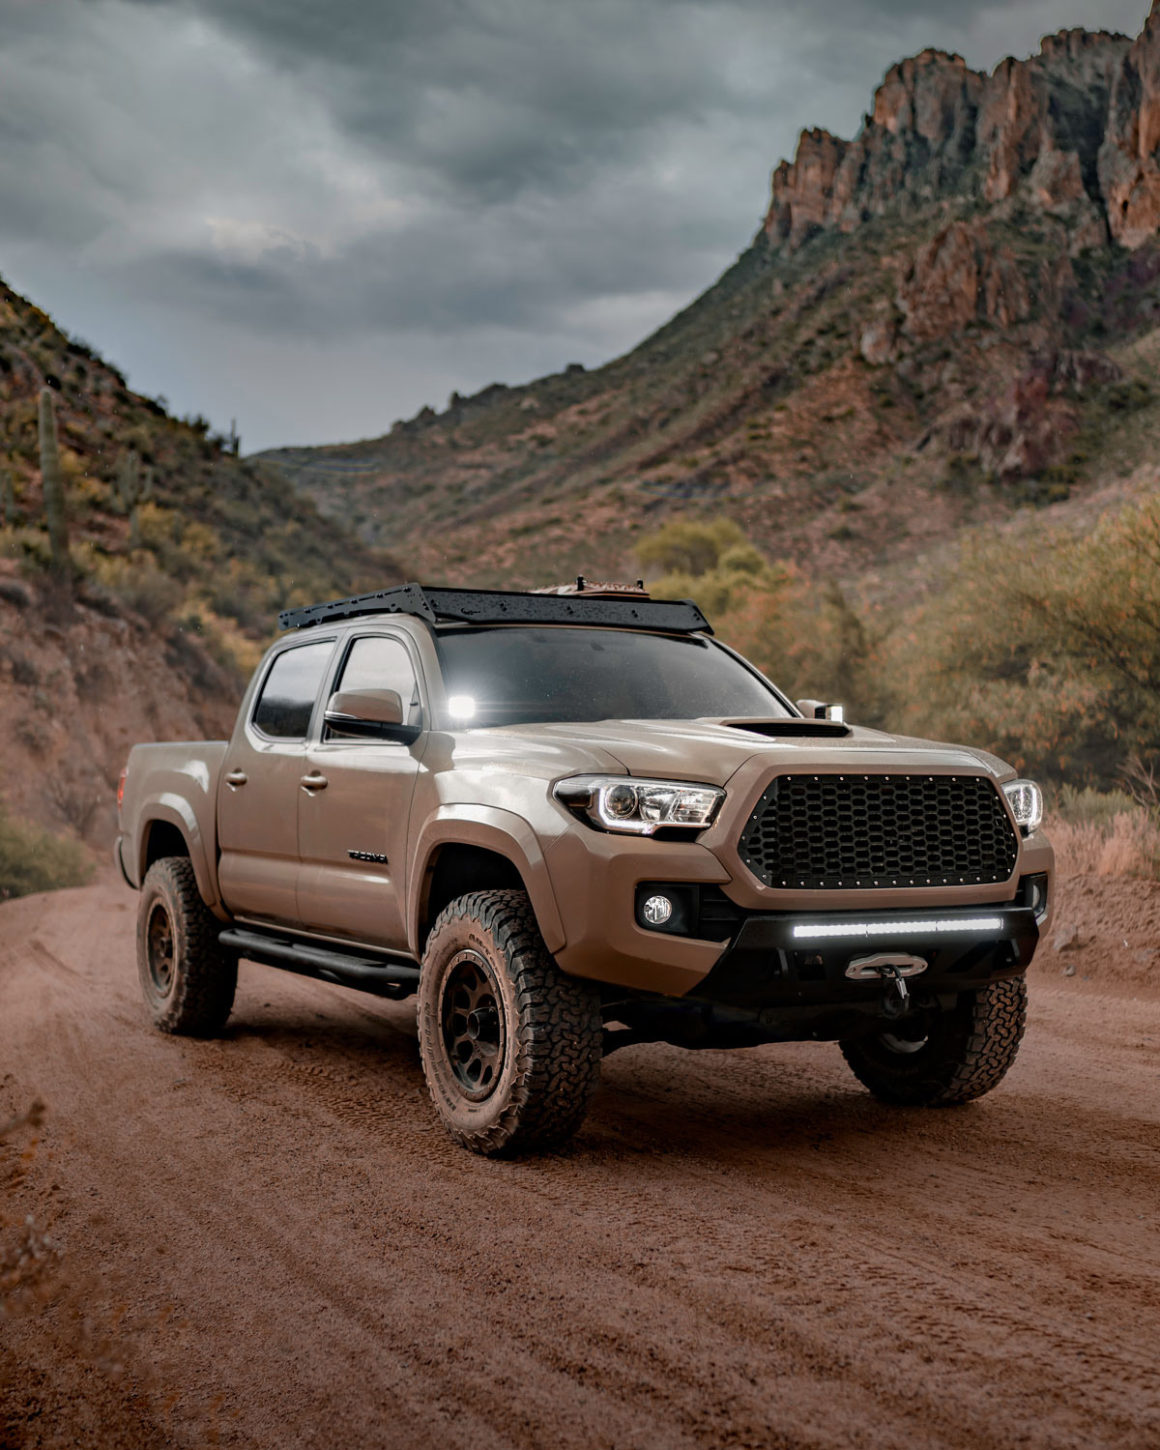
Peak Design Clips
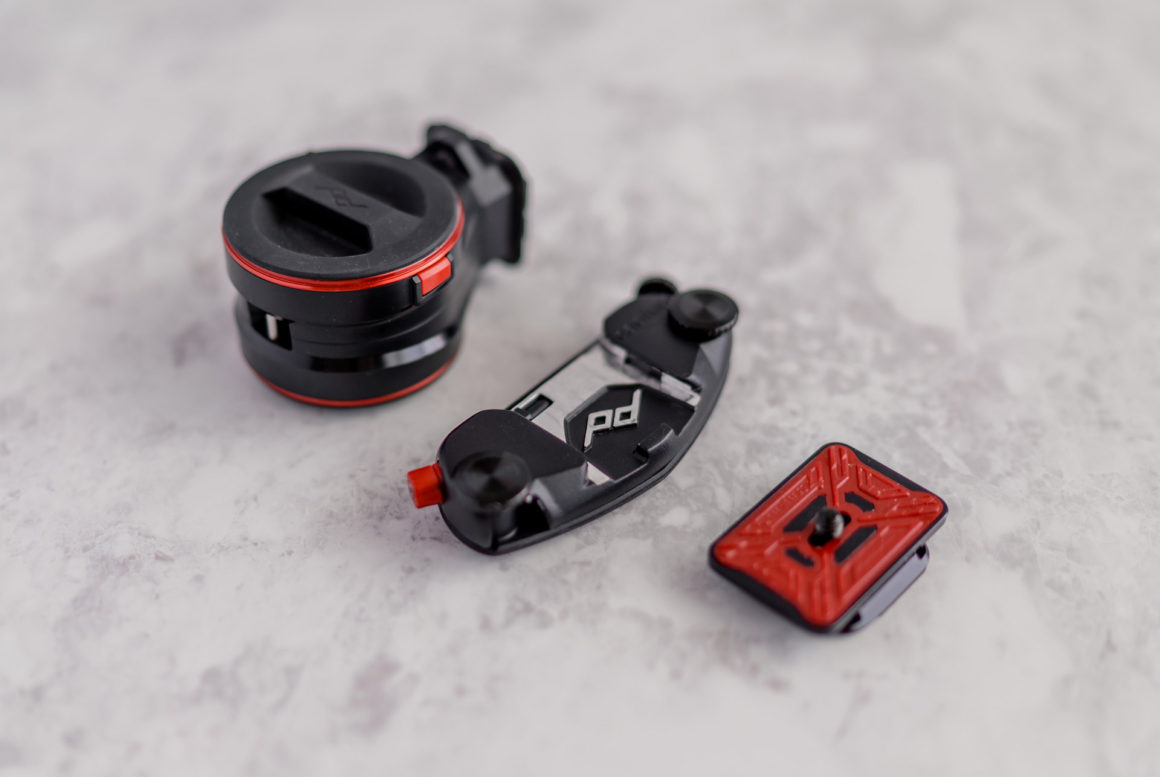
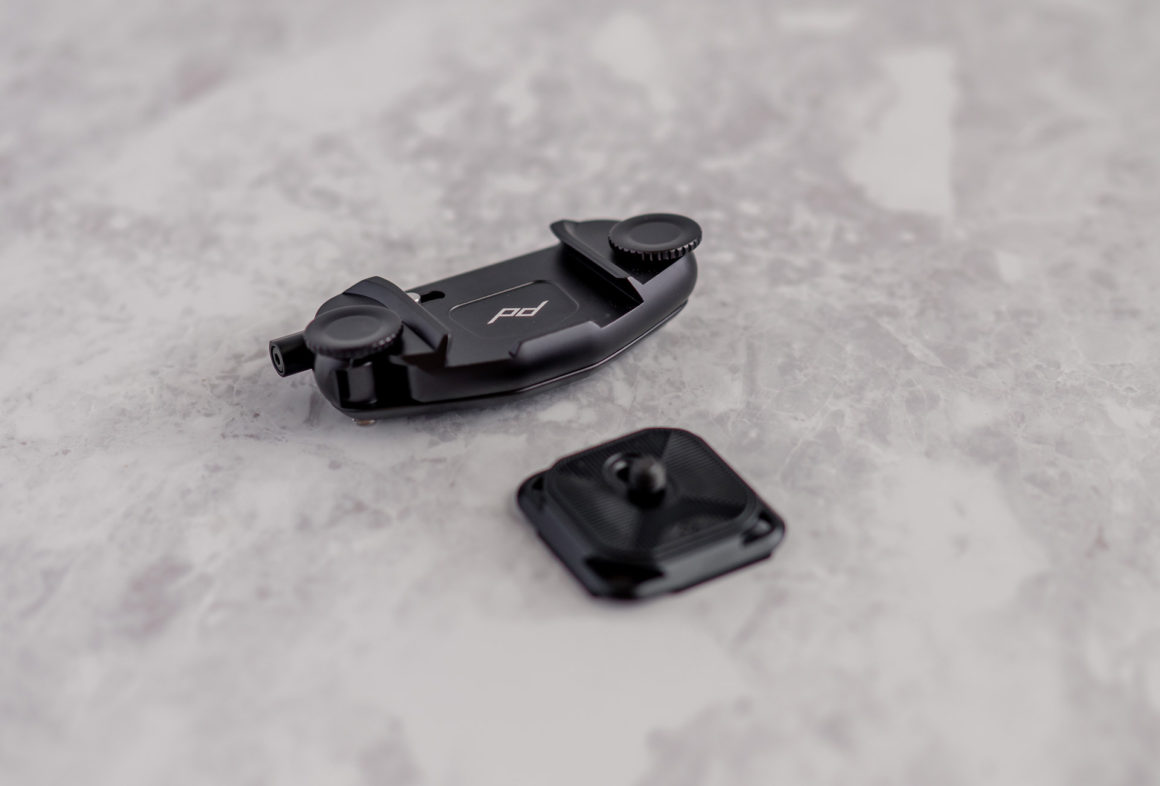
See the photo below? Those clips I use to attach my camera and lenses on my hiking backpack are called Peak Design CapturePRO Camera Clips(ad). I also have the Capture Lens Kit(ad) which holds two lenses and rotates to allow for quick access to swap lenses while I’m hiking. The part that screws into the base of the camera also works with my tripod below! I truly love this system for traveling! The all-black set shown above is their newest models. This shot was taken during our trip to Moab here.

Lightweight Tripod

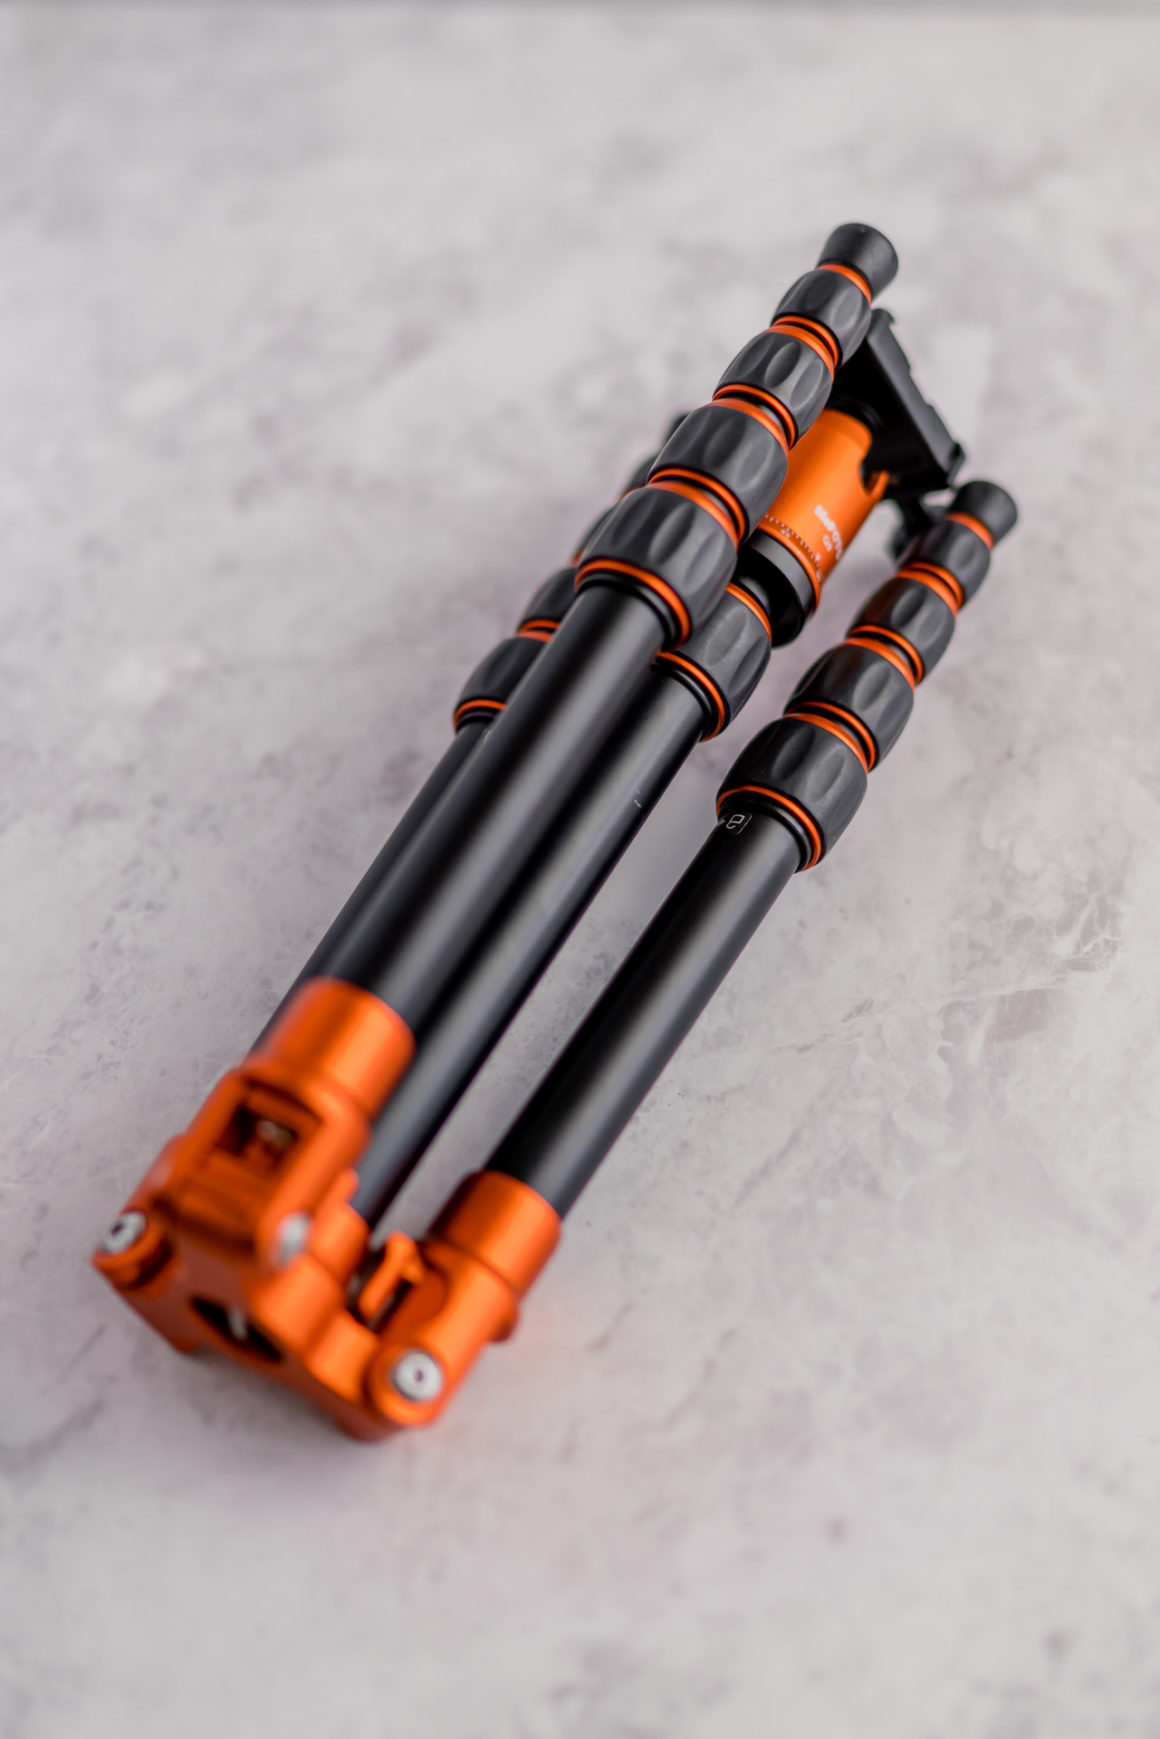
I use a lightweight tripod from MeFOTO(ad) for hiking as it fits perfectly in the side pocket of my REI Ruck Pack(ad). It’s compatible with my capture clips on my camera body and folds up fairly small to pack on all our trips.
Weebill 2 Gimbal
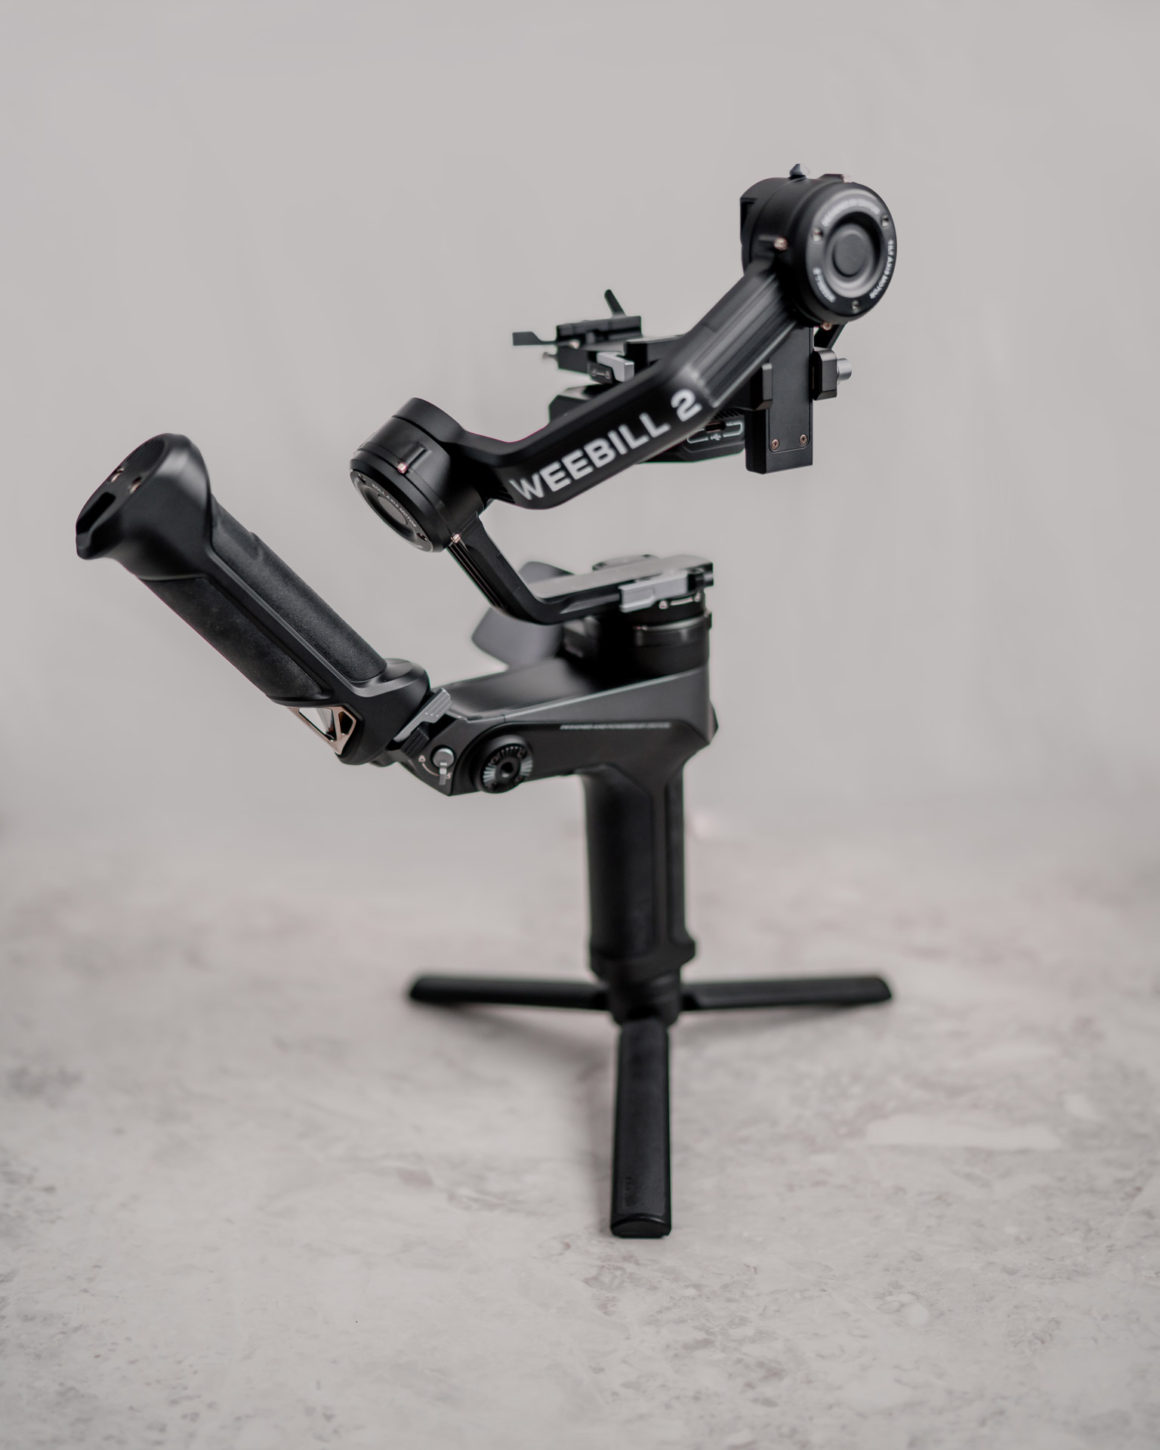
Recently I’ve been shooting more video work for my clients in addition to my photography packages. This Weebill 2 gimbal from Zhiyun(ad) has been great for those smooth cinematic shots you may have seen in some of my social media stories recently. Watch my Weebill 2 gimbal review video.
Go Pro
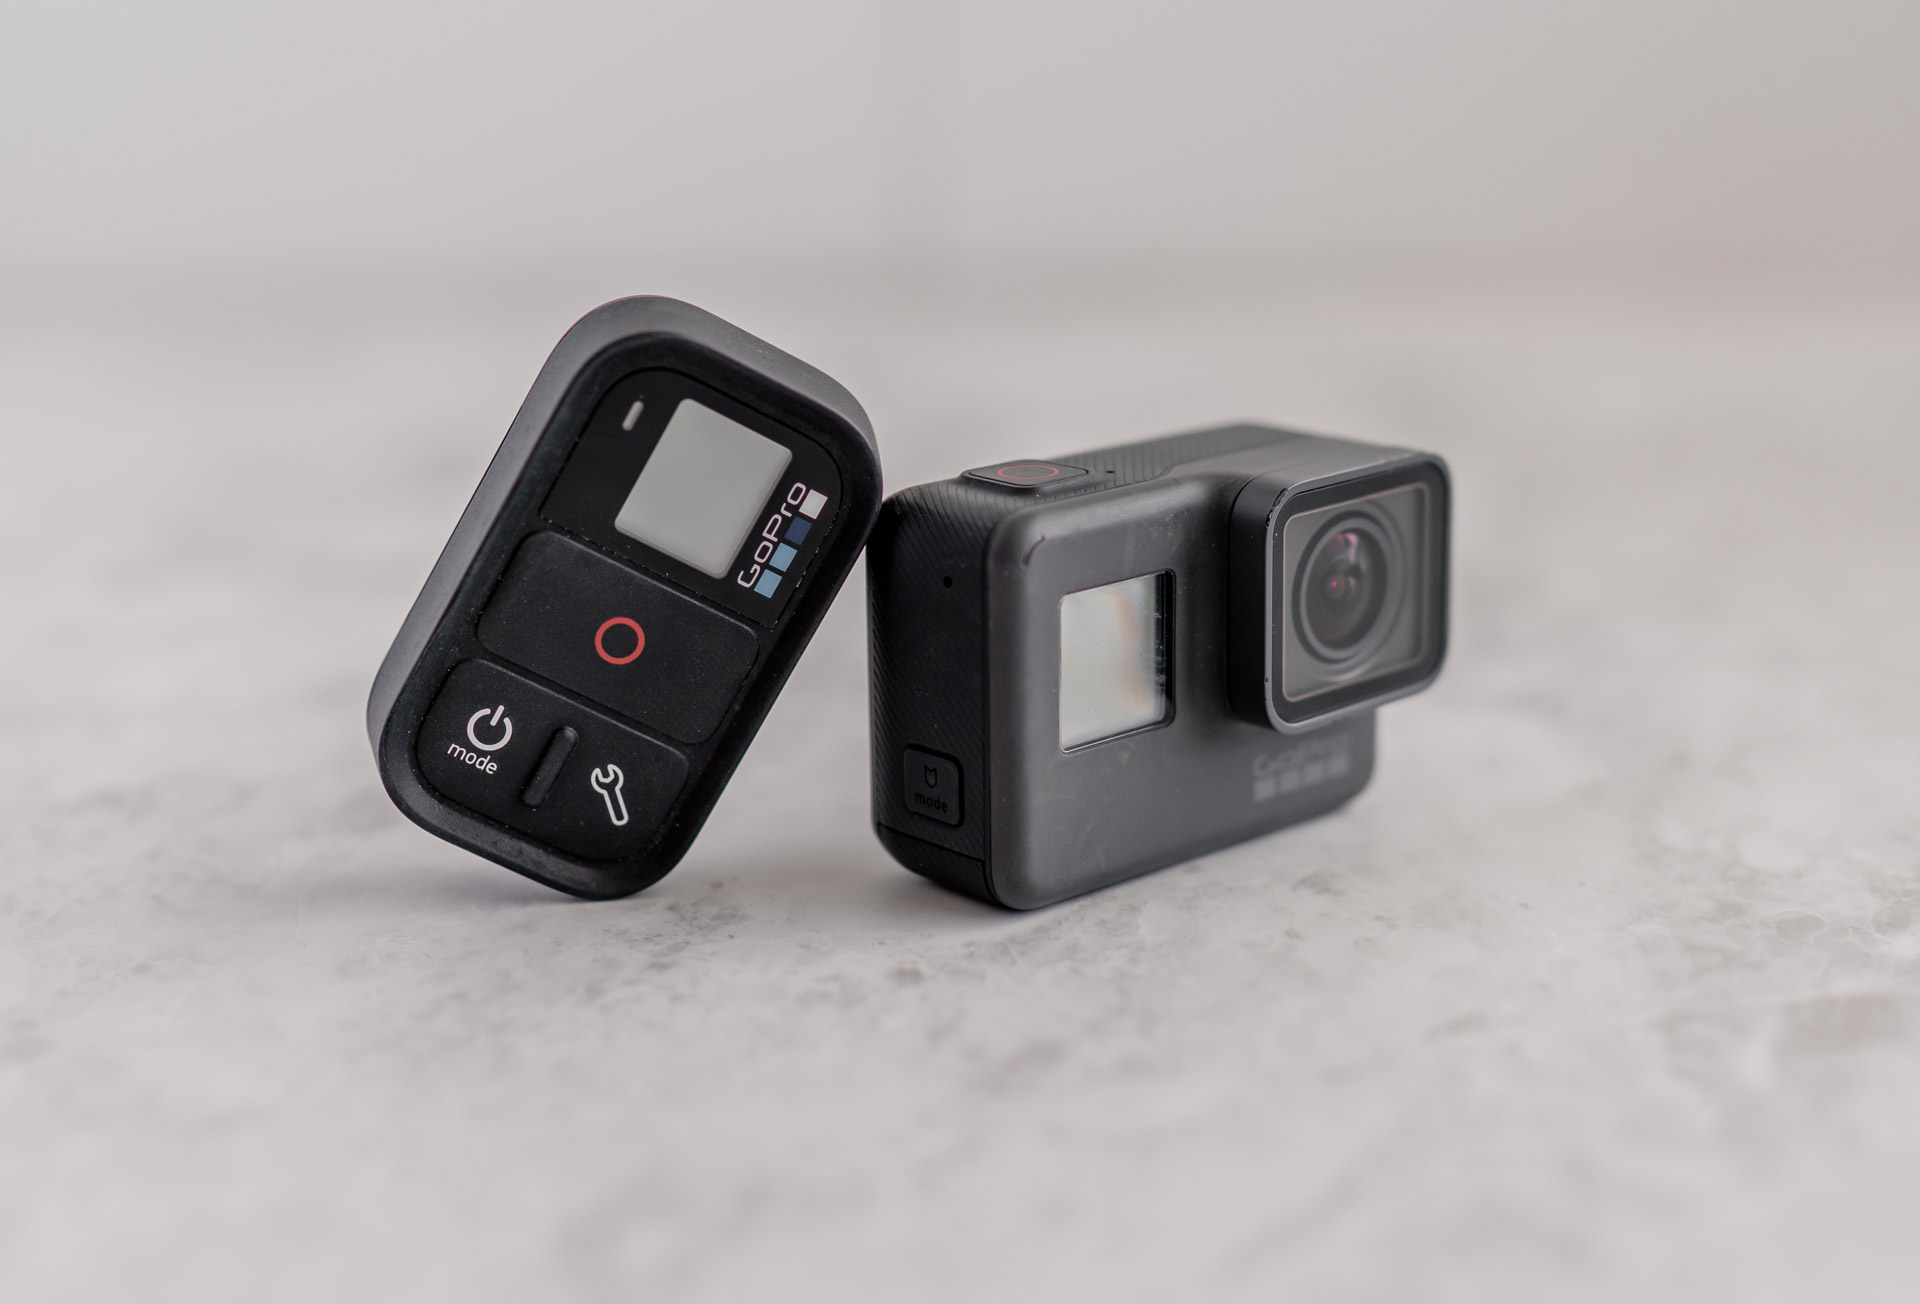
For the adventures that take me somewhere that my larger camera setups can’t go, I use the GoPro Hero 7(ad). I mainly use this on diving trips, paddleboarding, etc. It’s waterproof up to 33ft and I use the extra Super Suit with filters(ad) when diving regardless. Looking forward to using in on some upcoming off-road trails now that it has HyperSmooth stabilization built-in and a gimble is no longer needed.
Underwater Dome
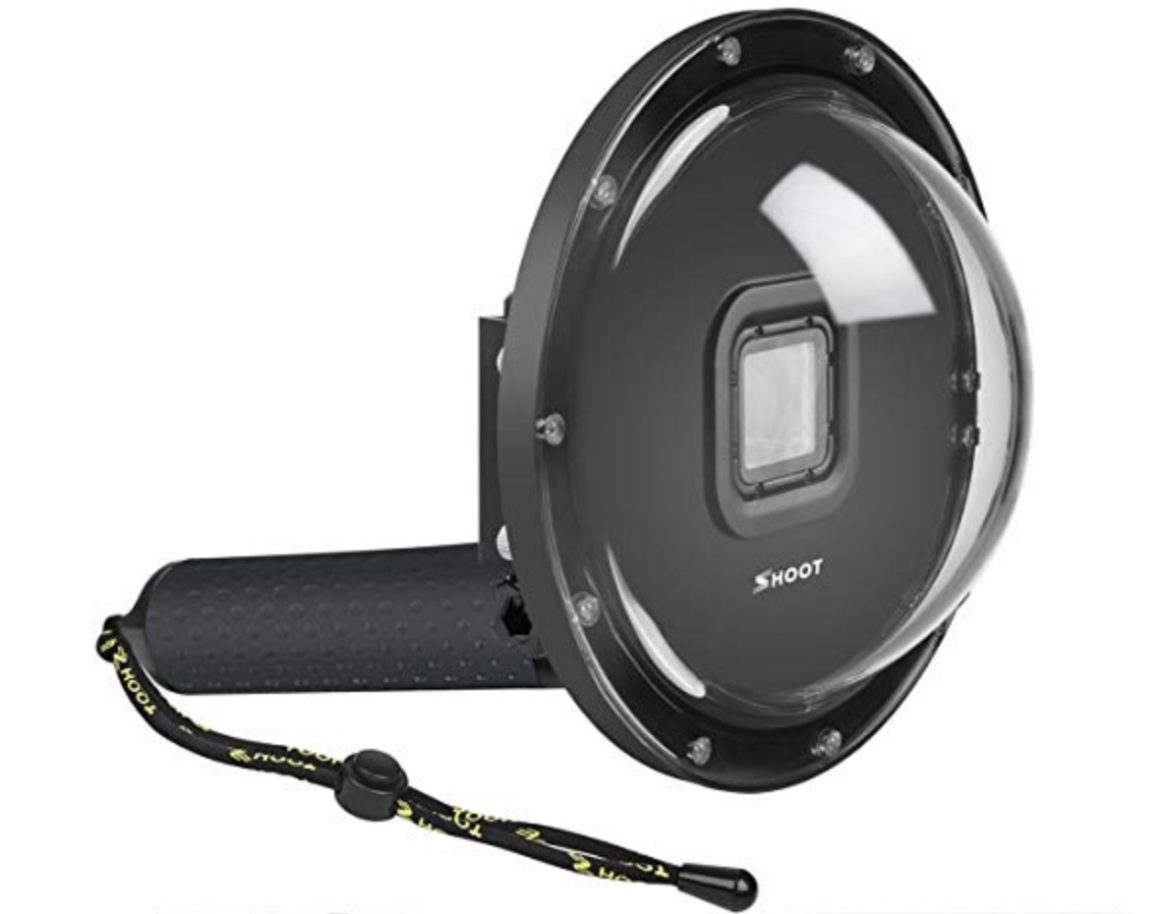
For those underwater shots that are half above / half below the water, I use this little dome! It’s a great attachment and captures photos like this example below. Don’t forget to drop an anti-fog piece(ad) into it beforehand to keep it from fogging up! Snap here was taken from this Bahamas trip!

Drone
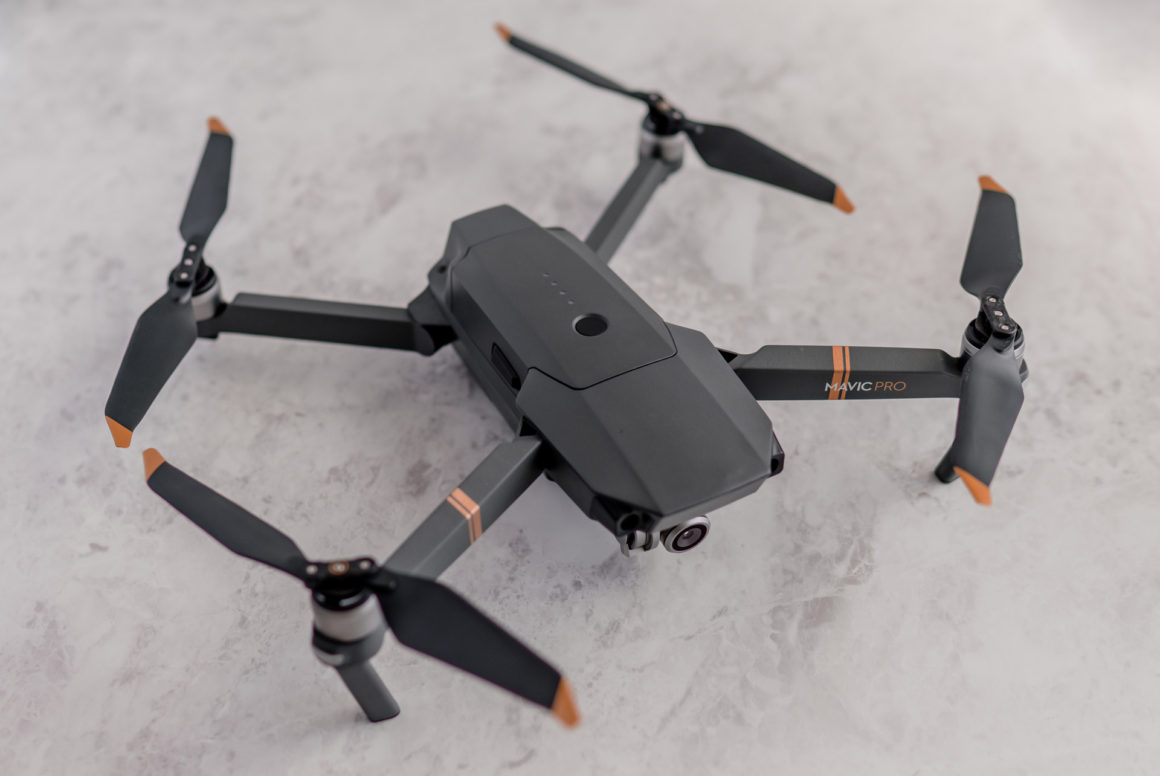
Another fun toy in the arsenal is the DJI Mavic Drone(ad). I have actually never flown it yet but Tim, my boyfriend, always brings it along to get some fun shots when drones are permitted. Always make sure to research the areas you plan to fly and never use it to disturb any wildlife in the process of getting your footage :)!
Hiking Essentials
GPS
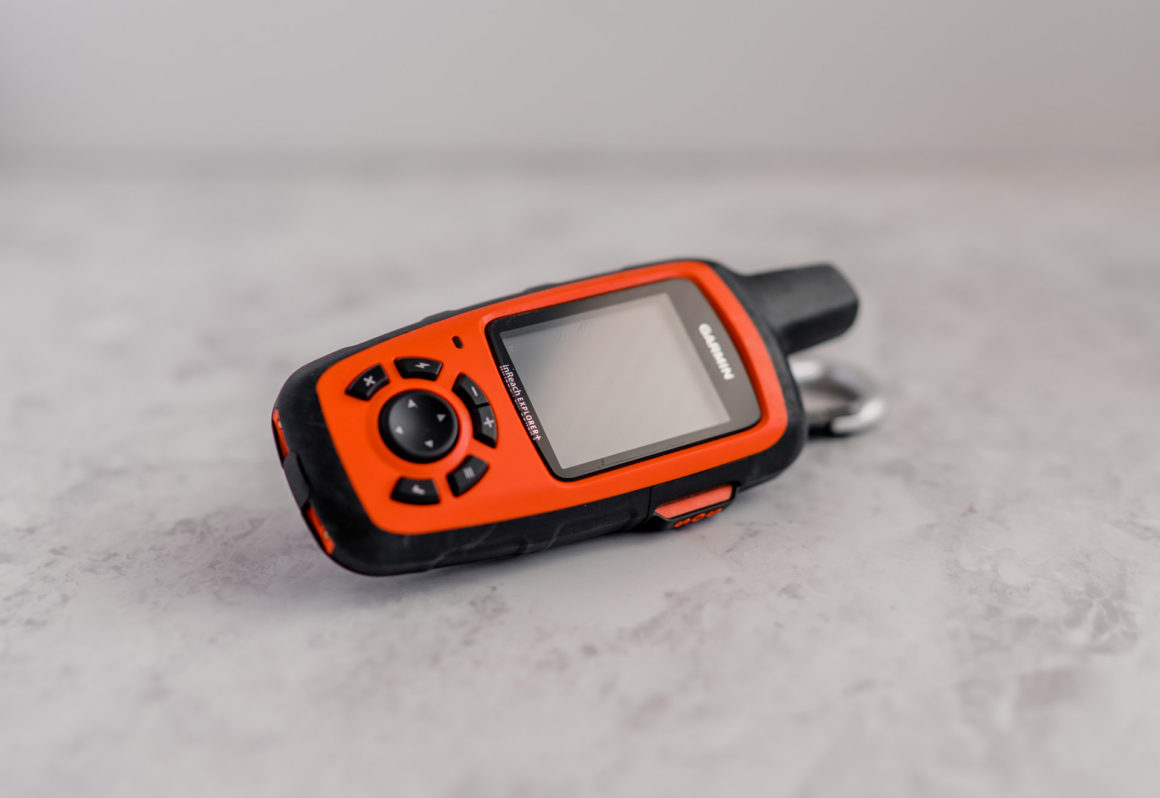
I absolutely love my InReach Explorer+ GPS(ad) from Garmin! It’s got 100% global Iridium satellite coverage plus TOPO maps and is a GPS navigation system. I always add my GPX files to it before going out on a trip. You can follow routes and it connects to your phone for a large map view. Two-way text messaging from anywhere gives us some peace of mind on the lesser know trails where you might not see people for days or weeks if something goes wrong.
Hope this guide helps on your photography and adventuring journey!
Disclosure: Some of the links above are affiliate links, and at no additional cost to you, I earn a commission if you make a purchase. As an Amazon Associate, I earn from qualifying purchases. I only share products I have used, tested, and love!