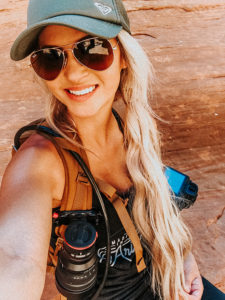
I had fallen in love with Utah’s wild landscape on my first solo road trip in Moab last year and was eager to plan my next visit back.
After receiving a last minute invite to tag along on an adventure-packed road trip from Phoenix to Escalante, you bet I jumped on board. The catch? We only had 48hrs.
5 Must-see Stops
1: Horseshoe Bend
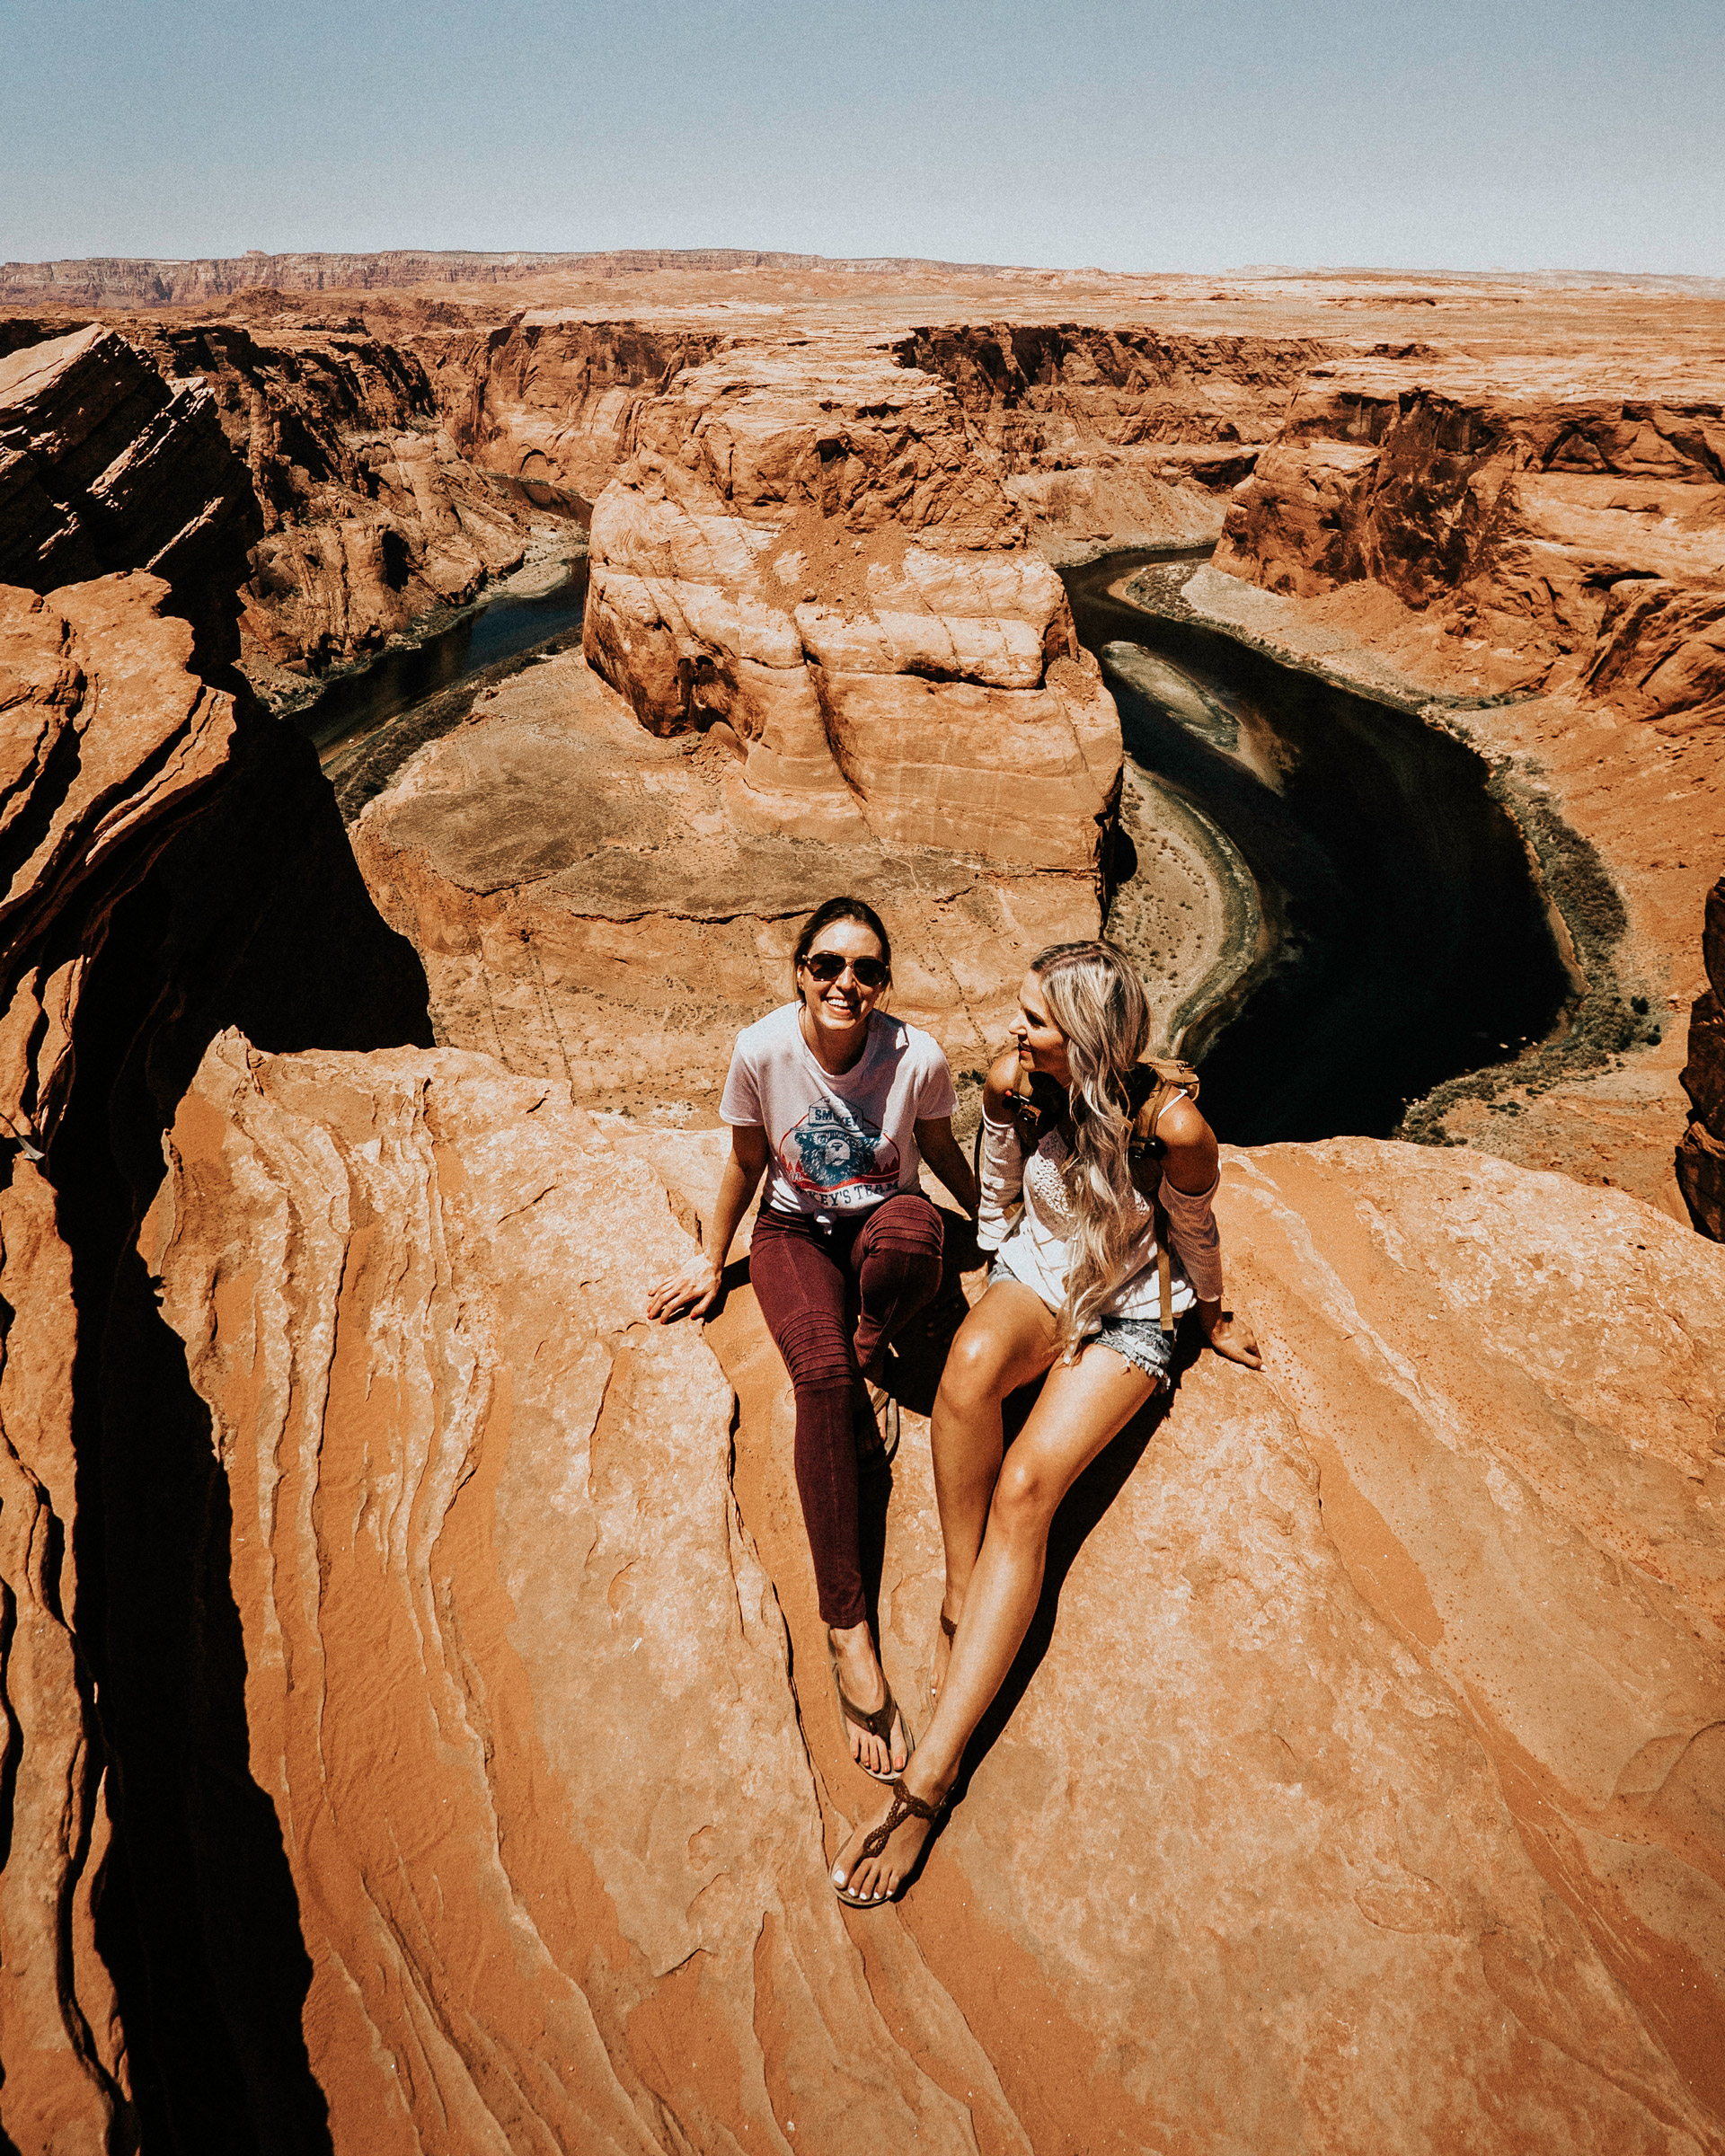
The first stop, Horseshoe Bend, about 4 1/2hrs north of Phoenix. After visiting many times at all hours of the day, I must say that midday with hundreds of tourists and temps in the 100’s is not my favorite time to visit. Nonetheless, it is a stunning view of the canyon.
Getting there/parking: Horseshoe Bend is just before Page AZ if you are heading up from Phoenix. There will be a dirt lot off to your left about here: 36°52’34.6″N 111°30’03.7″W. Currently there is no fee to get in but this parking lot is always ridiculously packed.
The hike: At 1.25 miles roundtrip, the hike might not seem much but keep in mind it’s really easy to get overheated if you are not use to the temps here. Can’t miss the trail here, just follow the masses. If you want to see what it looks like around sunset read my post from my last visit.
2: Bryce Canyon
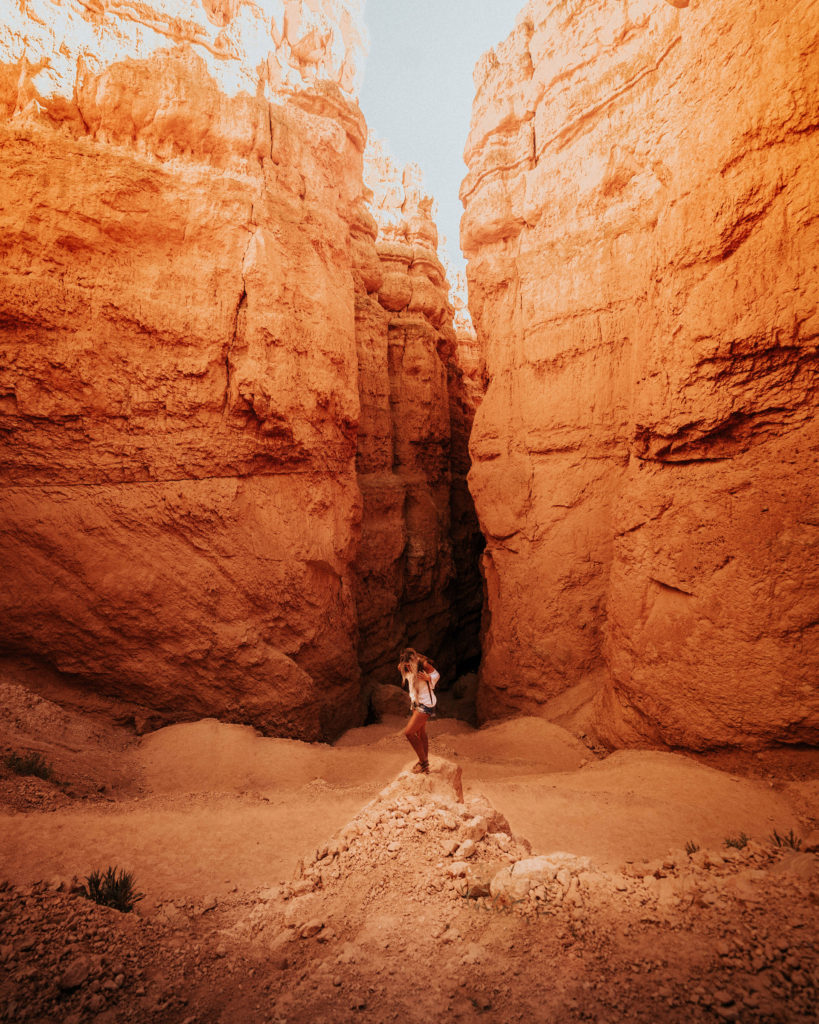
Another 2 1/2 hrs north is Bryce Canyon National Park. This park has always been a place that has inspired me. The rock formations ( hoodoos ) here are unlike any I have seen in the southwest & the orange rocks just glow mid-afternoon! You can easily spend a week here and not run out of things to do.
The hike: This trail below is one of many here at this park and was called Navajo Trail which is 1.3 miles round trip. We got a chance to run around through the winding canyon trails for a short while before having to head to the next spot for sunset.
Getting there/parking: It is a $35 per vehicle entrance fee to get into Bryce Canyon National Park. Or you can get a National Parks and Federal Recreational Lands Pass for $80 which gives you one years access to Federal recreation sites that charge an Entrance or Standard Amenity Fee. Check out the National Park Service website for all the details.
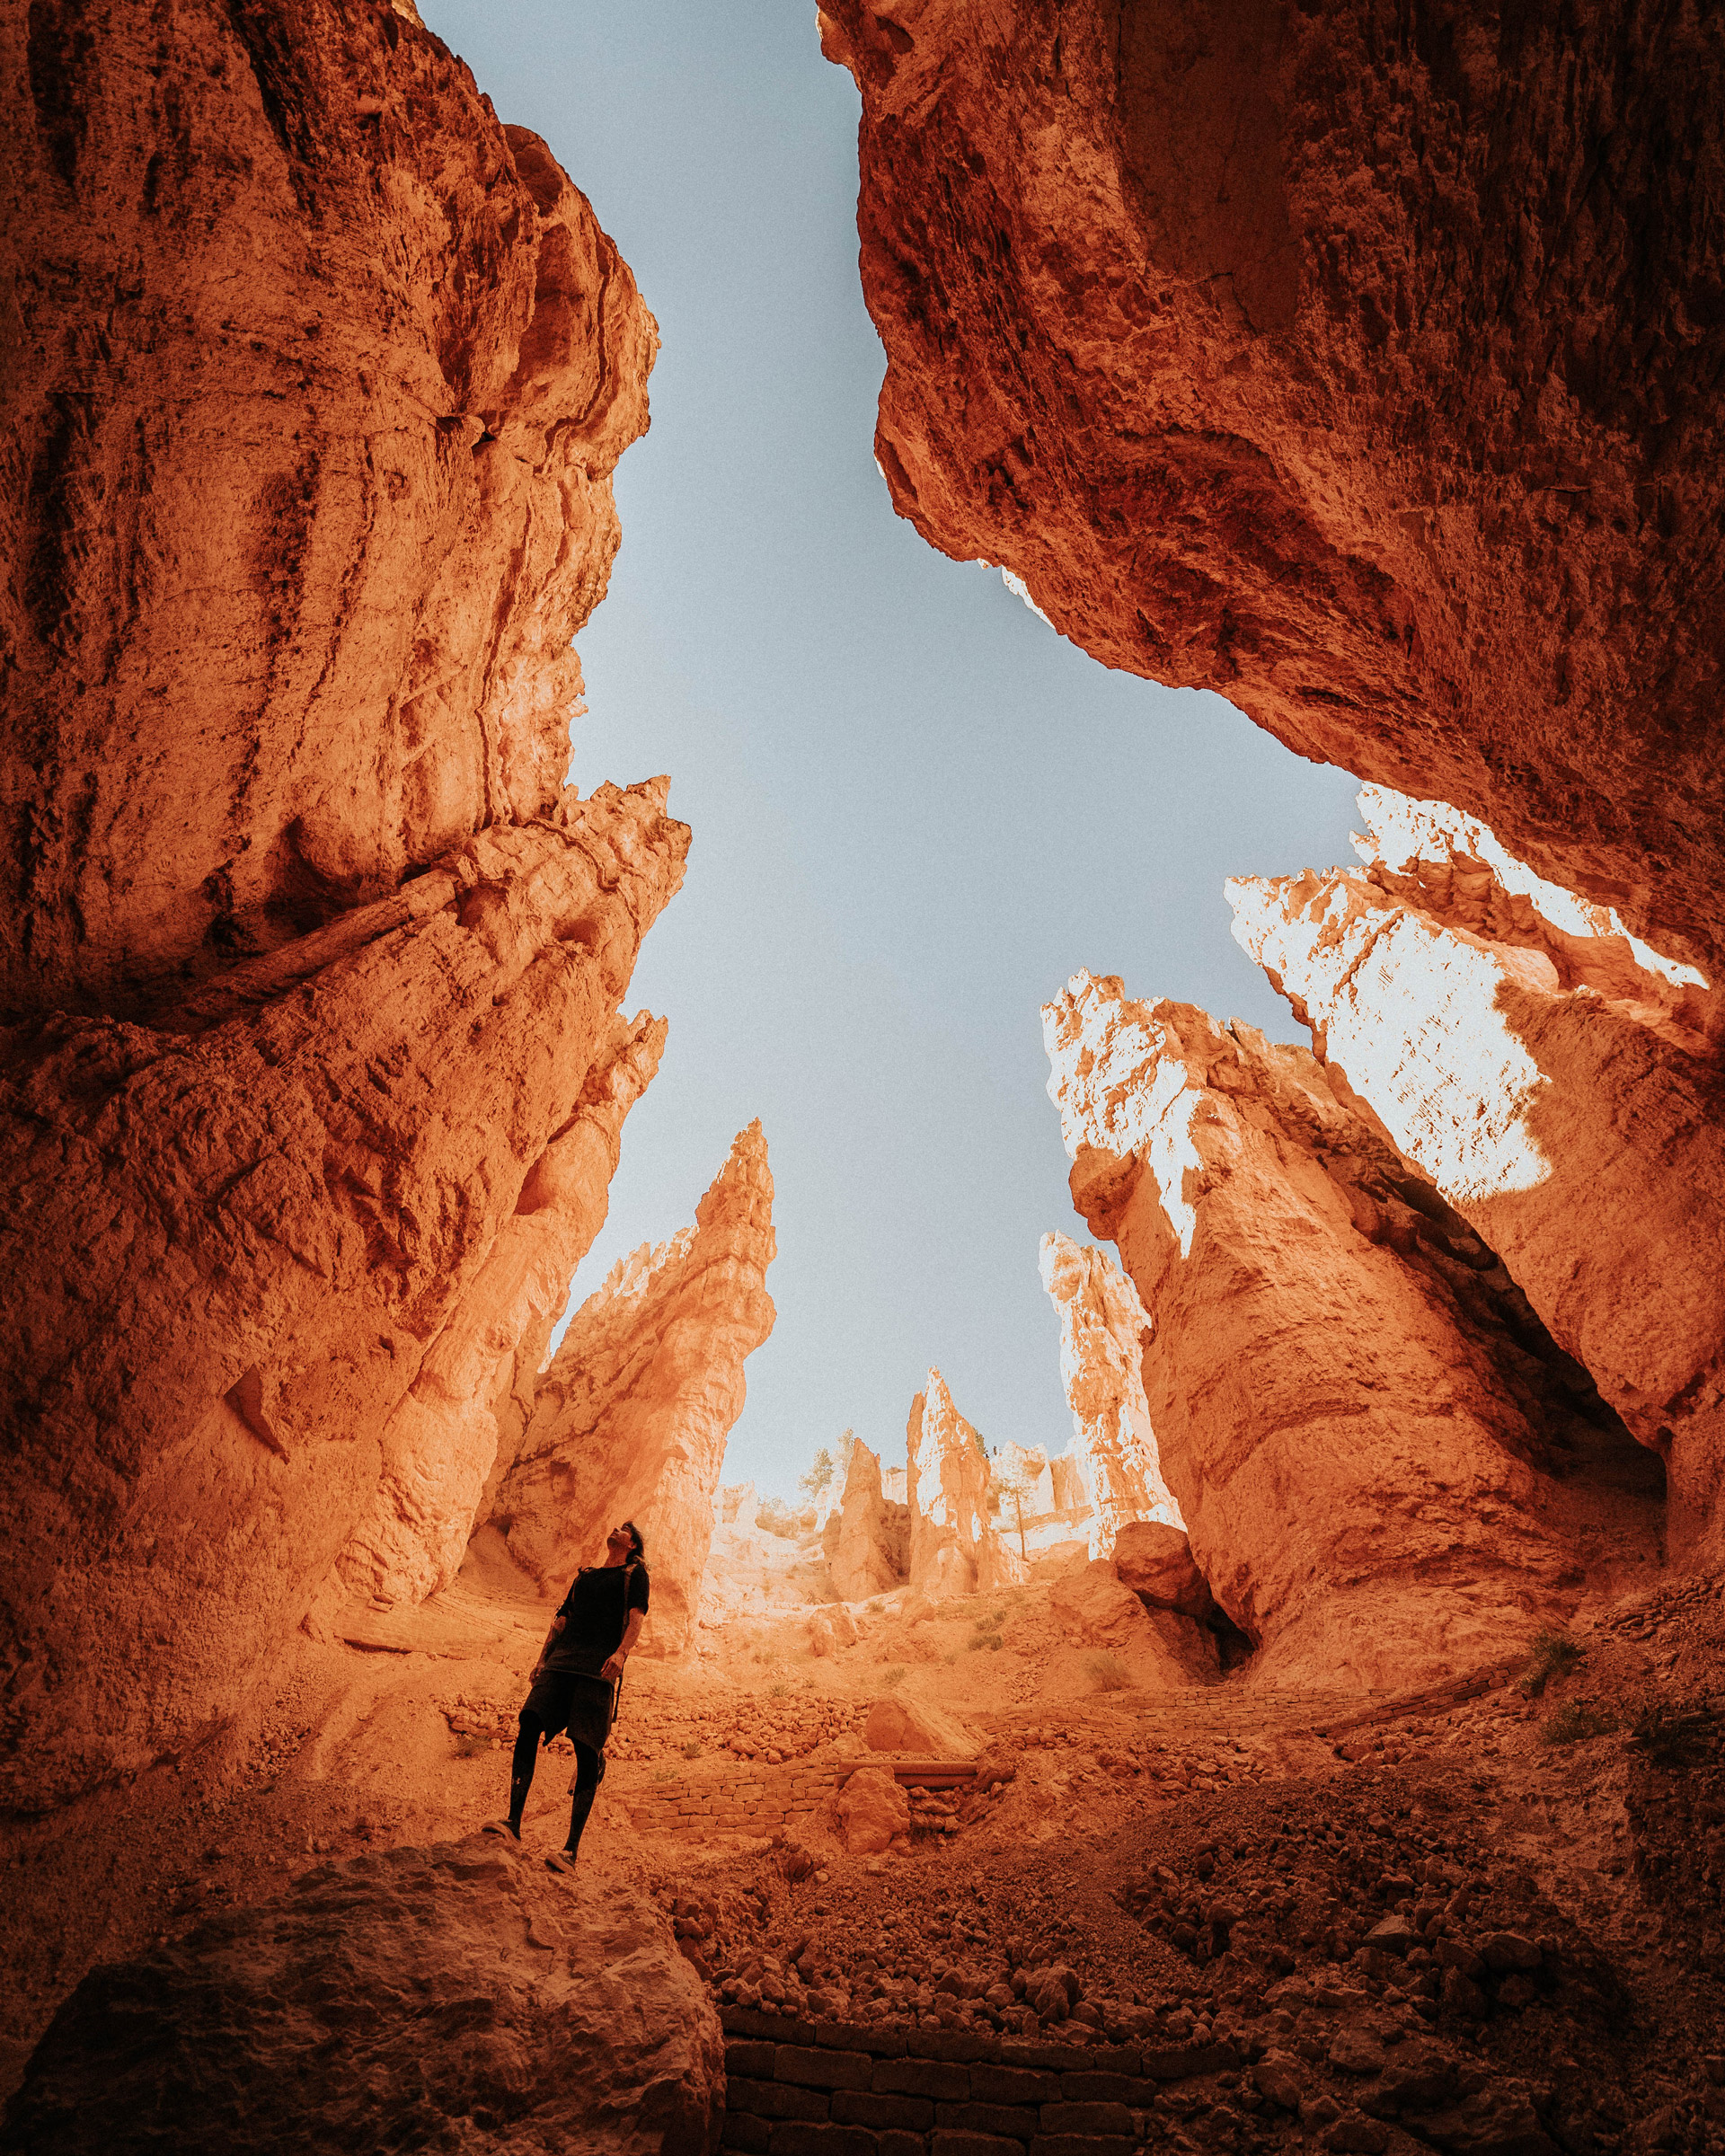
Thanks to Steven (@askmyghost) for modeling in this shot for me. Check him out on Instagram if you are looking for inspirational travels in the southwest!
3: Devil’s Garden
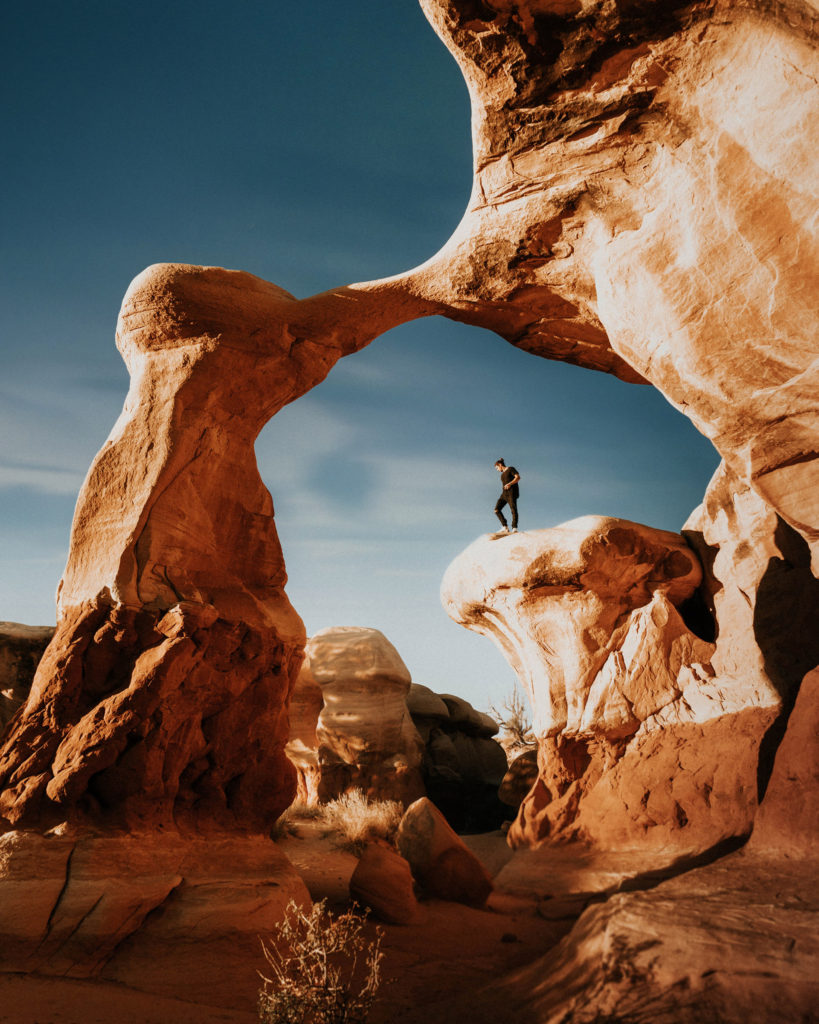
An hour and a half away from Bryce Canyon, Devil’s Garden was our next stop. This is the part of the trip were we were all happy that we had off-road vehicles for.
Getting there/parking: Once you leave the UT-12 E paved road, you drive 12.1 miles on BLM200/Hole in the Rock Rd which is a VERY bumpy and long road. Don’t say I didn’t warn you!
It is highly recommended to have and 4×4 vehicle but some regular cars were on the road however if you ask anyone who has done this road before, its a doozy. But remarkably, we made it to Devil’s Garden before the sun went down!
Thanks to Emilio (@emiliomag) for getting in this shot. He’s got some stunning photography on his page & even better narratives with his photos.
4: Jacob Hamblin Arch
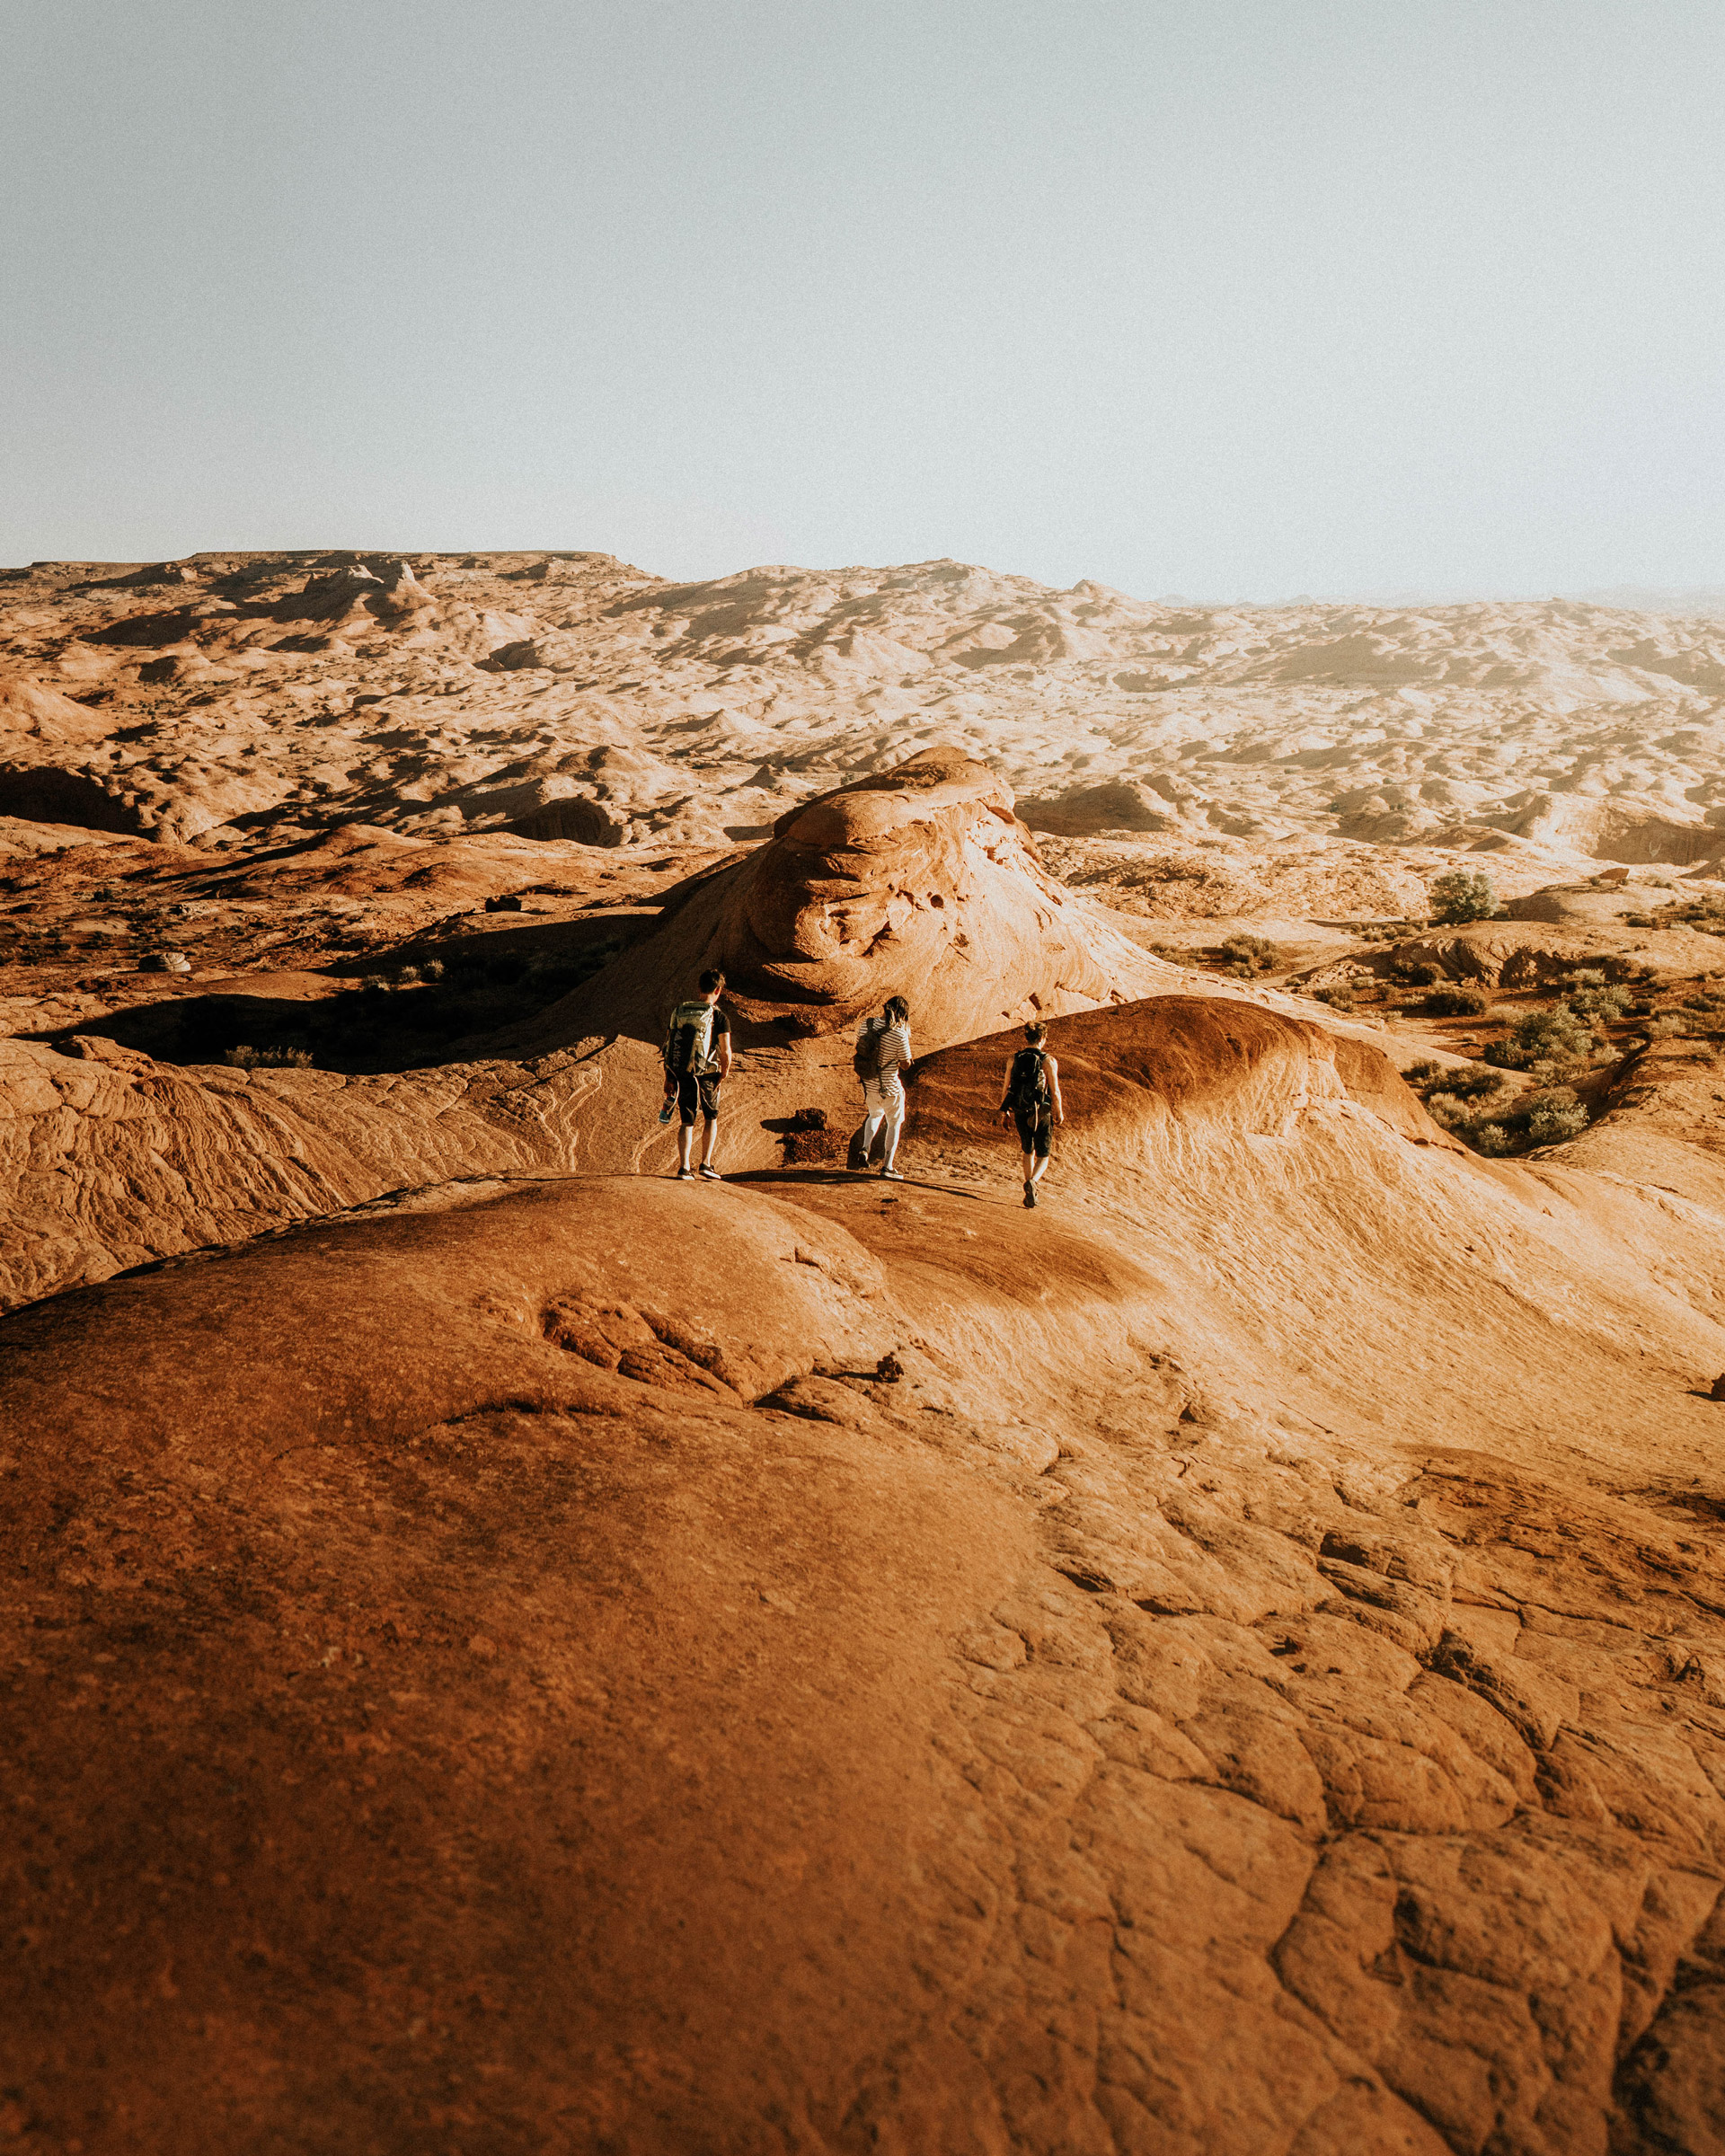
Getting there: So, if you really think you’ll enjoy that Hole in the Rock Rd I mentioned above, GUESS WHAT?!, you’ll get to drive another 28.6 miles on that road from Devil’s Garden to get to camp ( trailhead start). A camping permit is required to camp in this lot by the water tank. We headed there directly after Devil’s Garden so that we could get an early start on the trail. Note: Dogs are not allowed on the Coyote Gulch trails.
The route we took is referred to as “The Sneaker Route” because it is the day hike version of this hike. There are other longer routes in which people backpack in & camp in the canyon which is 12-16 miles, so pay attention to which is which.
We ended up hiking 8 miles this day just getting to & walking around Jacob Hamblin Arch and to Coyote Gulch Natural Bridge.
The hike: The start of the trail begins at that water tank on the map below. Sign in at the trailhead start and continue on the path through the sand until you get to the rocky areas and then start looking for the kairns (rock stacks). Those will lead you all the way to the edge where you’ll drop in to the canyon.
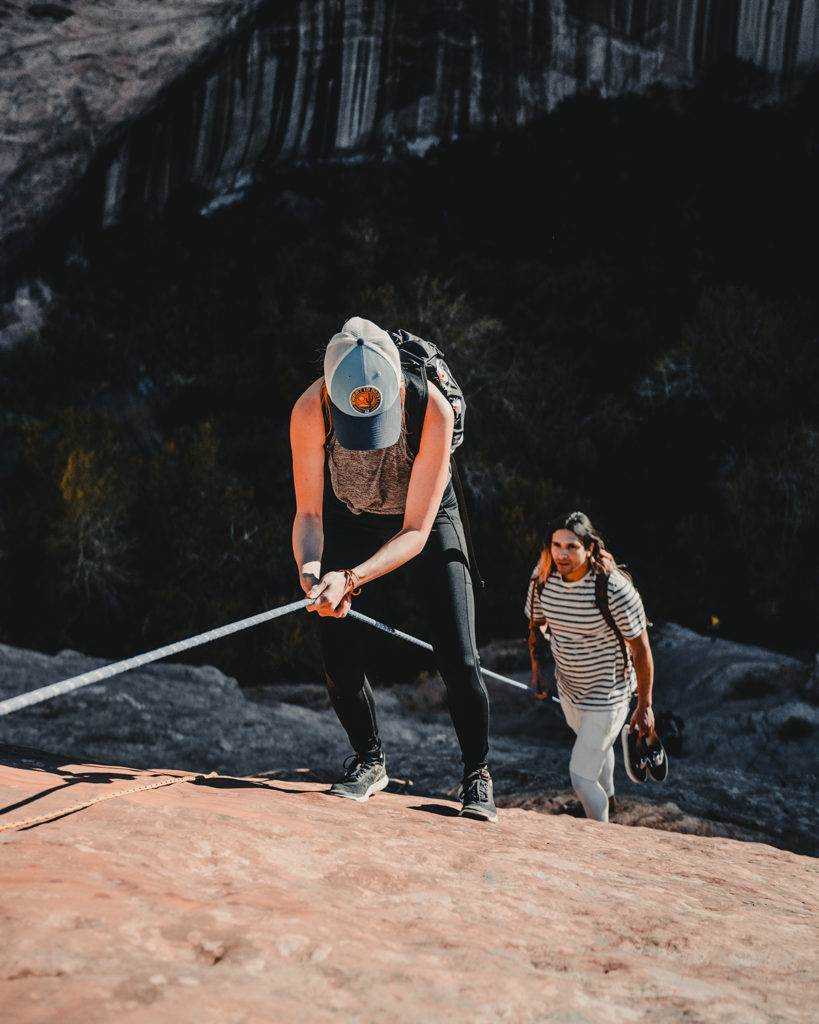
There were two ropes left there from previous hikers that day so we were able to get down no problem.
I recommend bringing your own rope just in case one is not left there and make sure to test any existing ones before you use them.
I want to take a moment to accurately sum up what I admire most about Genna in this photo, her bravery. She was not a huge fan of this steep section but she crushed it! Her independence and positive energy forever inspires me and I was thrilled she joined along on this trip.
Once you are down, you can head around the corner to Jacob Hamblin Arch (Lat: 37.418880 Lon: -111.043200)
If you continue back in the other direction a little ways down is Coyote Gulch Natural Bridge (Lat: 37.416120 Lon: -111.027620)
I download all my routes into my Garmin GPS before heading out anywhere. You can download .GPX files from many sites like Alltrails.com etc and import them here and just follow the route. It’s great when there is no cell service and it also has a SOS feature incase you ever need it.
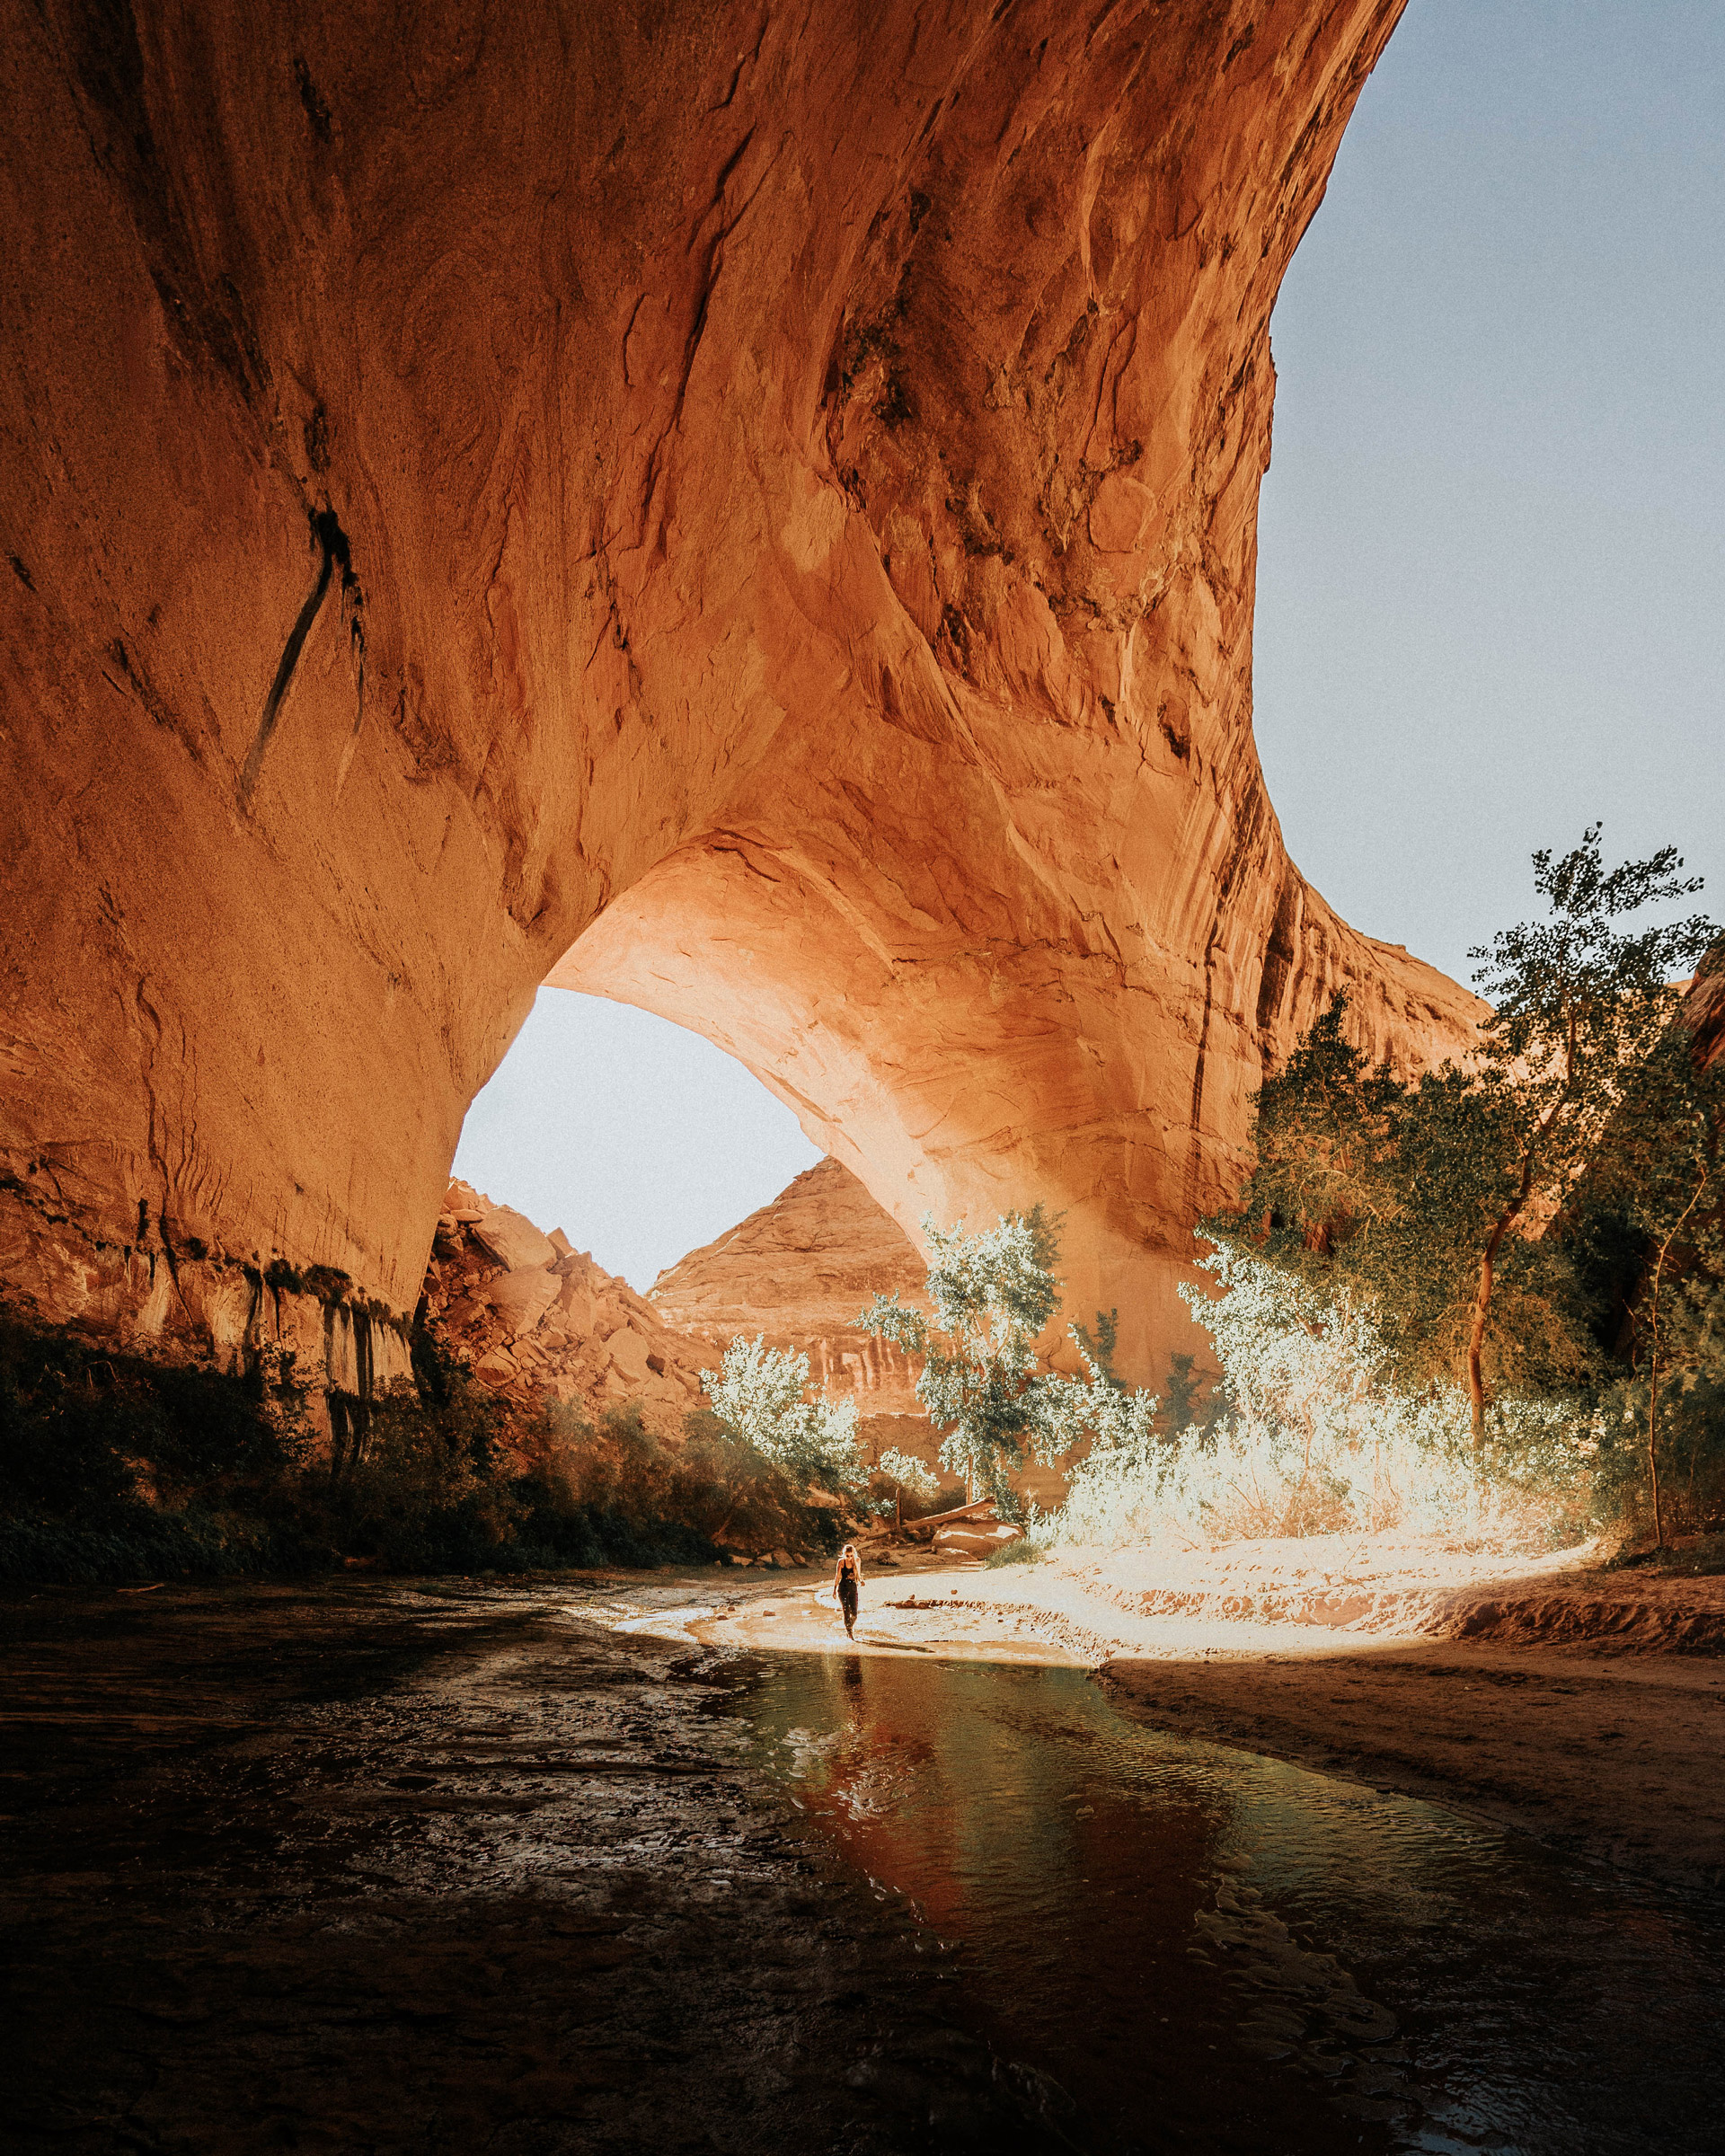
I want to take a second to just remind everyone reading this post…. PACK OUT WHAT YOU PACK IN. This place was beautiful and it was great seeing it trash free the entire time we were on these trails & it should be kept that way.
5: Coyote Gulch Natural Bridge
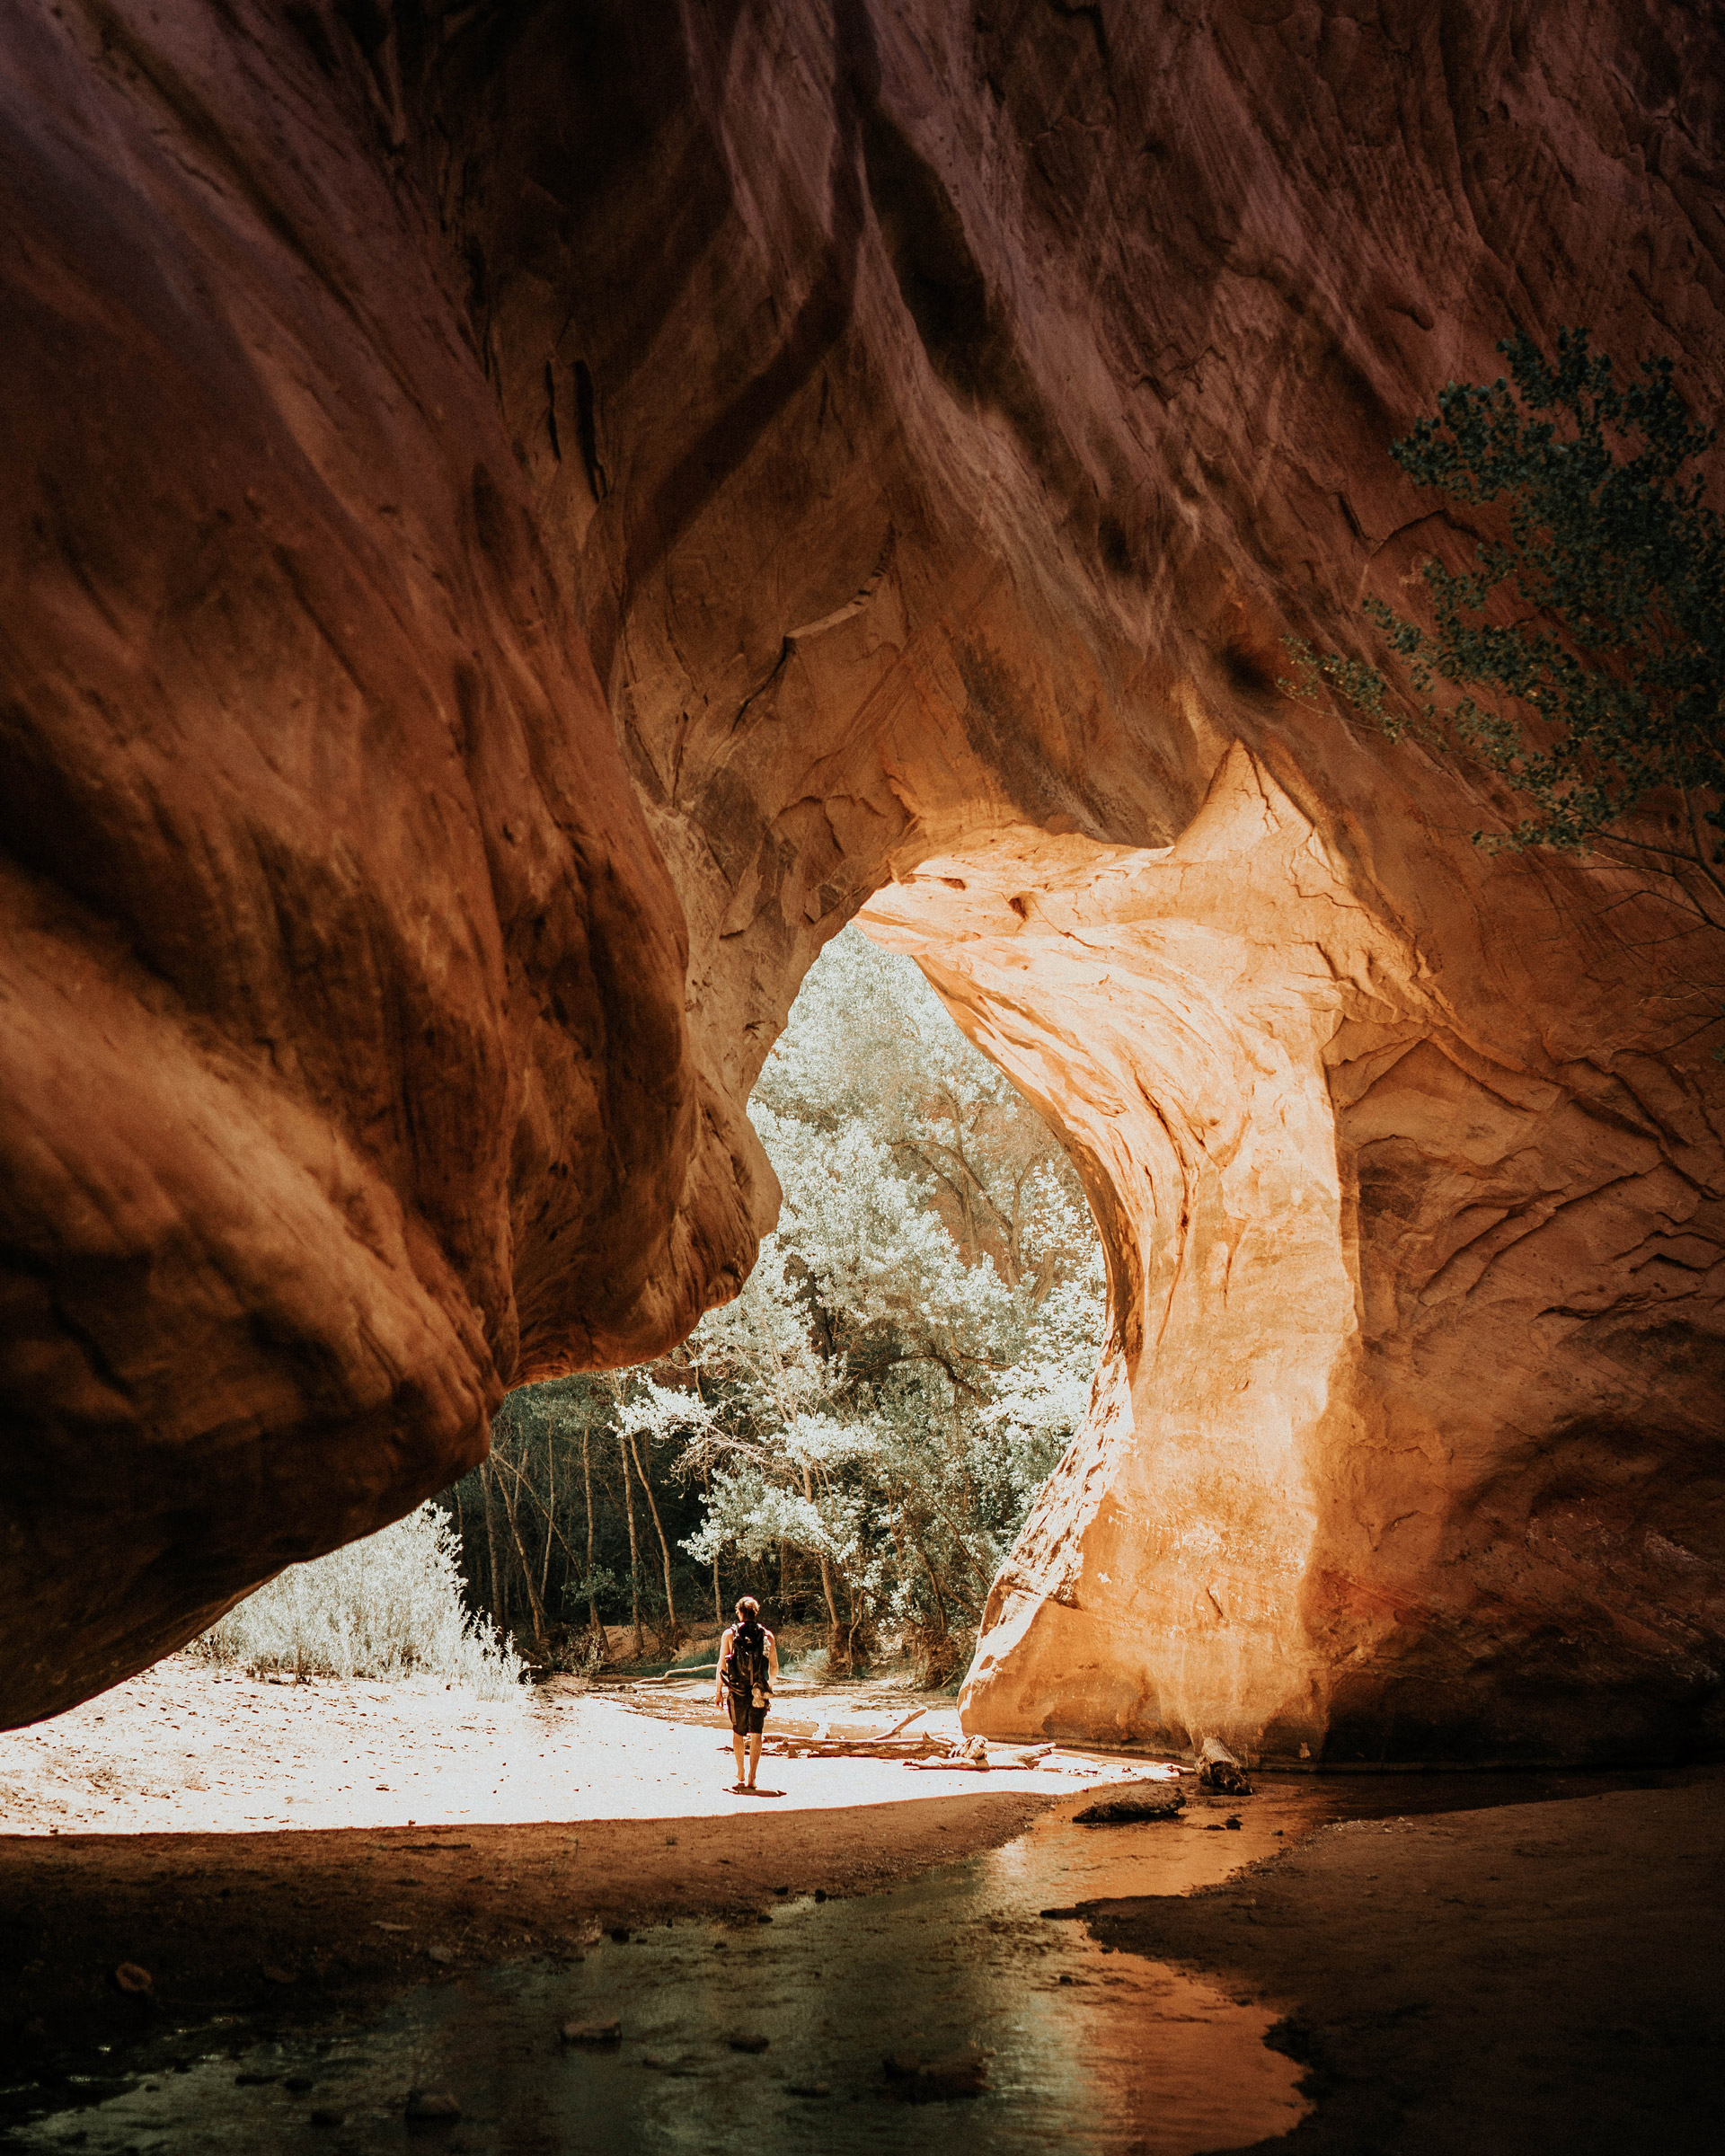
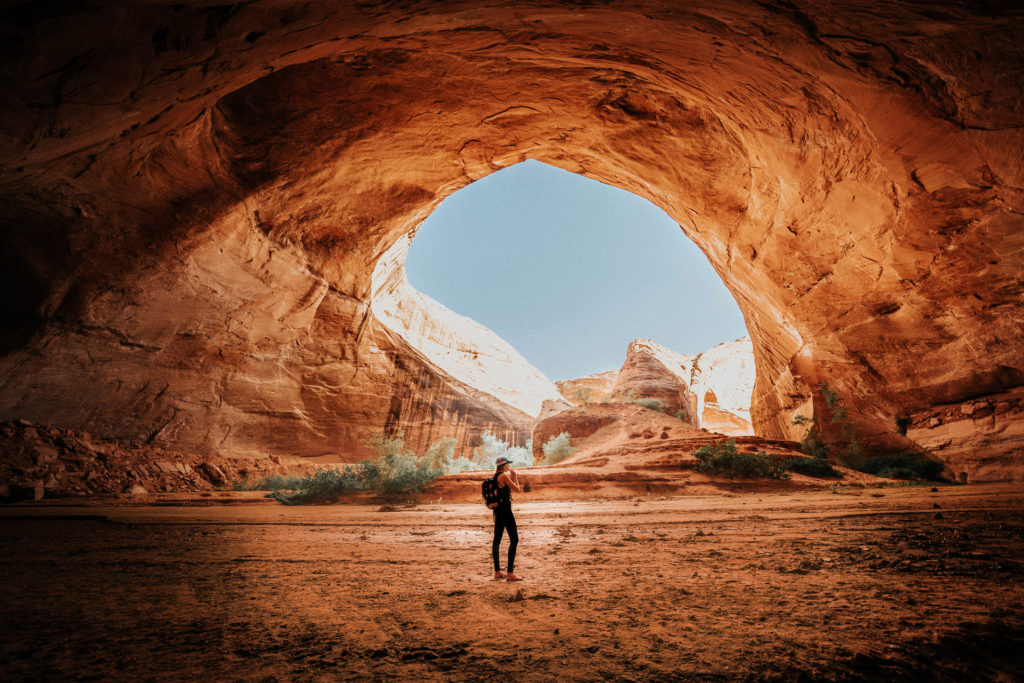
Keep hiking down the canyon and you’ll see Coyote Gulch Natural Bridge. We got to take a nice break here and lay down and watch the underneath of the bridge glow a beautiful orange color before heading back up to the vehicles for a nice long 9 1/2h drive home back to Phoenix.
End advice… take the trip! Break your routine and take the time to travel, even if its just for a weekend. It will push you outside of your comfort zone and force you to view of the world from a different perspective, not to mention some pretty amazing memories of a jam-packed trip filled with some spectacular destinations.

